So, this is a guide on what panels to remove and how will your car look like and where to do what on installing a dash cam and routing the wires.
Some basic tools to have:
- Dash Cam, front and rear recommended.
- one plastic pry tool, usually comes with the dash cam.
- plenty of light, whether its natural/torch strapped to your head/flashlight - you will need your both hands free.
- #14 ratchet wrench
- flat head screw driver
- scissors/pliers
- time
- patience
- working brain cells.
- some courage and confidence that you will break something. but mostly not if you follow the instructions here but I will absolve myself of all responsibilities here.
- finally some skin and blood sacrifice when required by the DIY gods or the car.
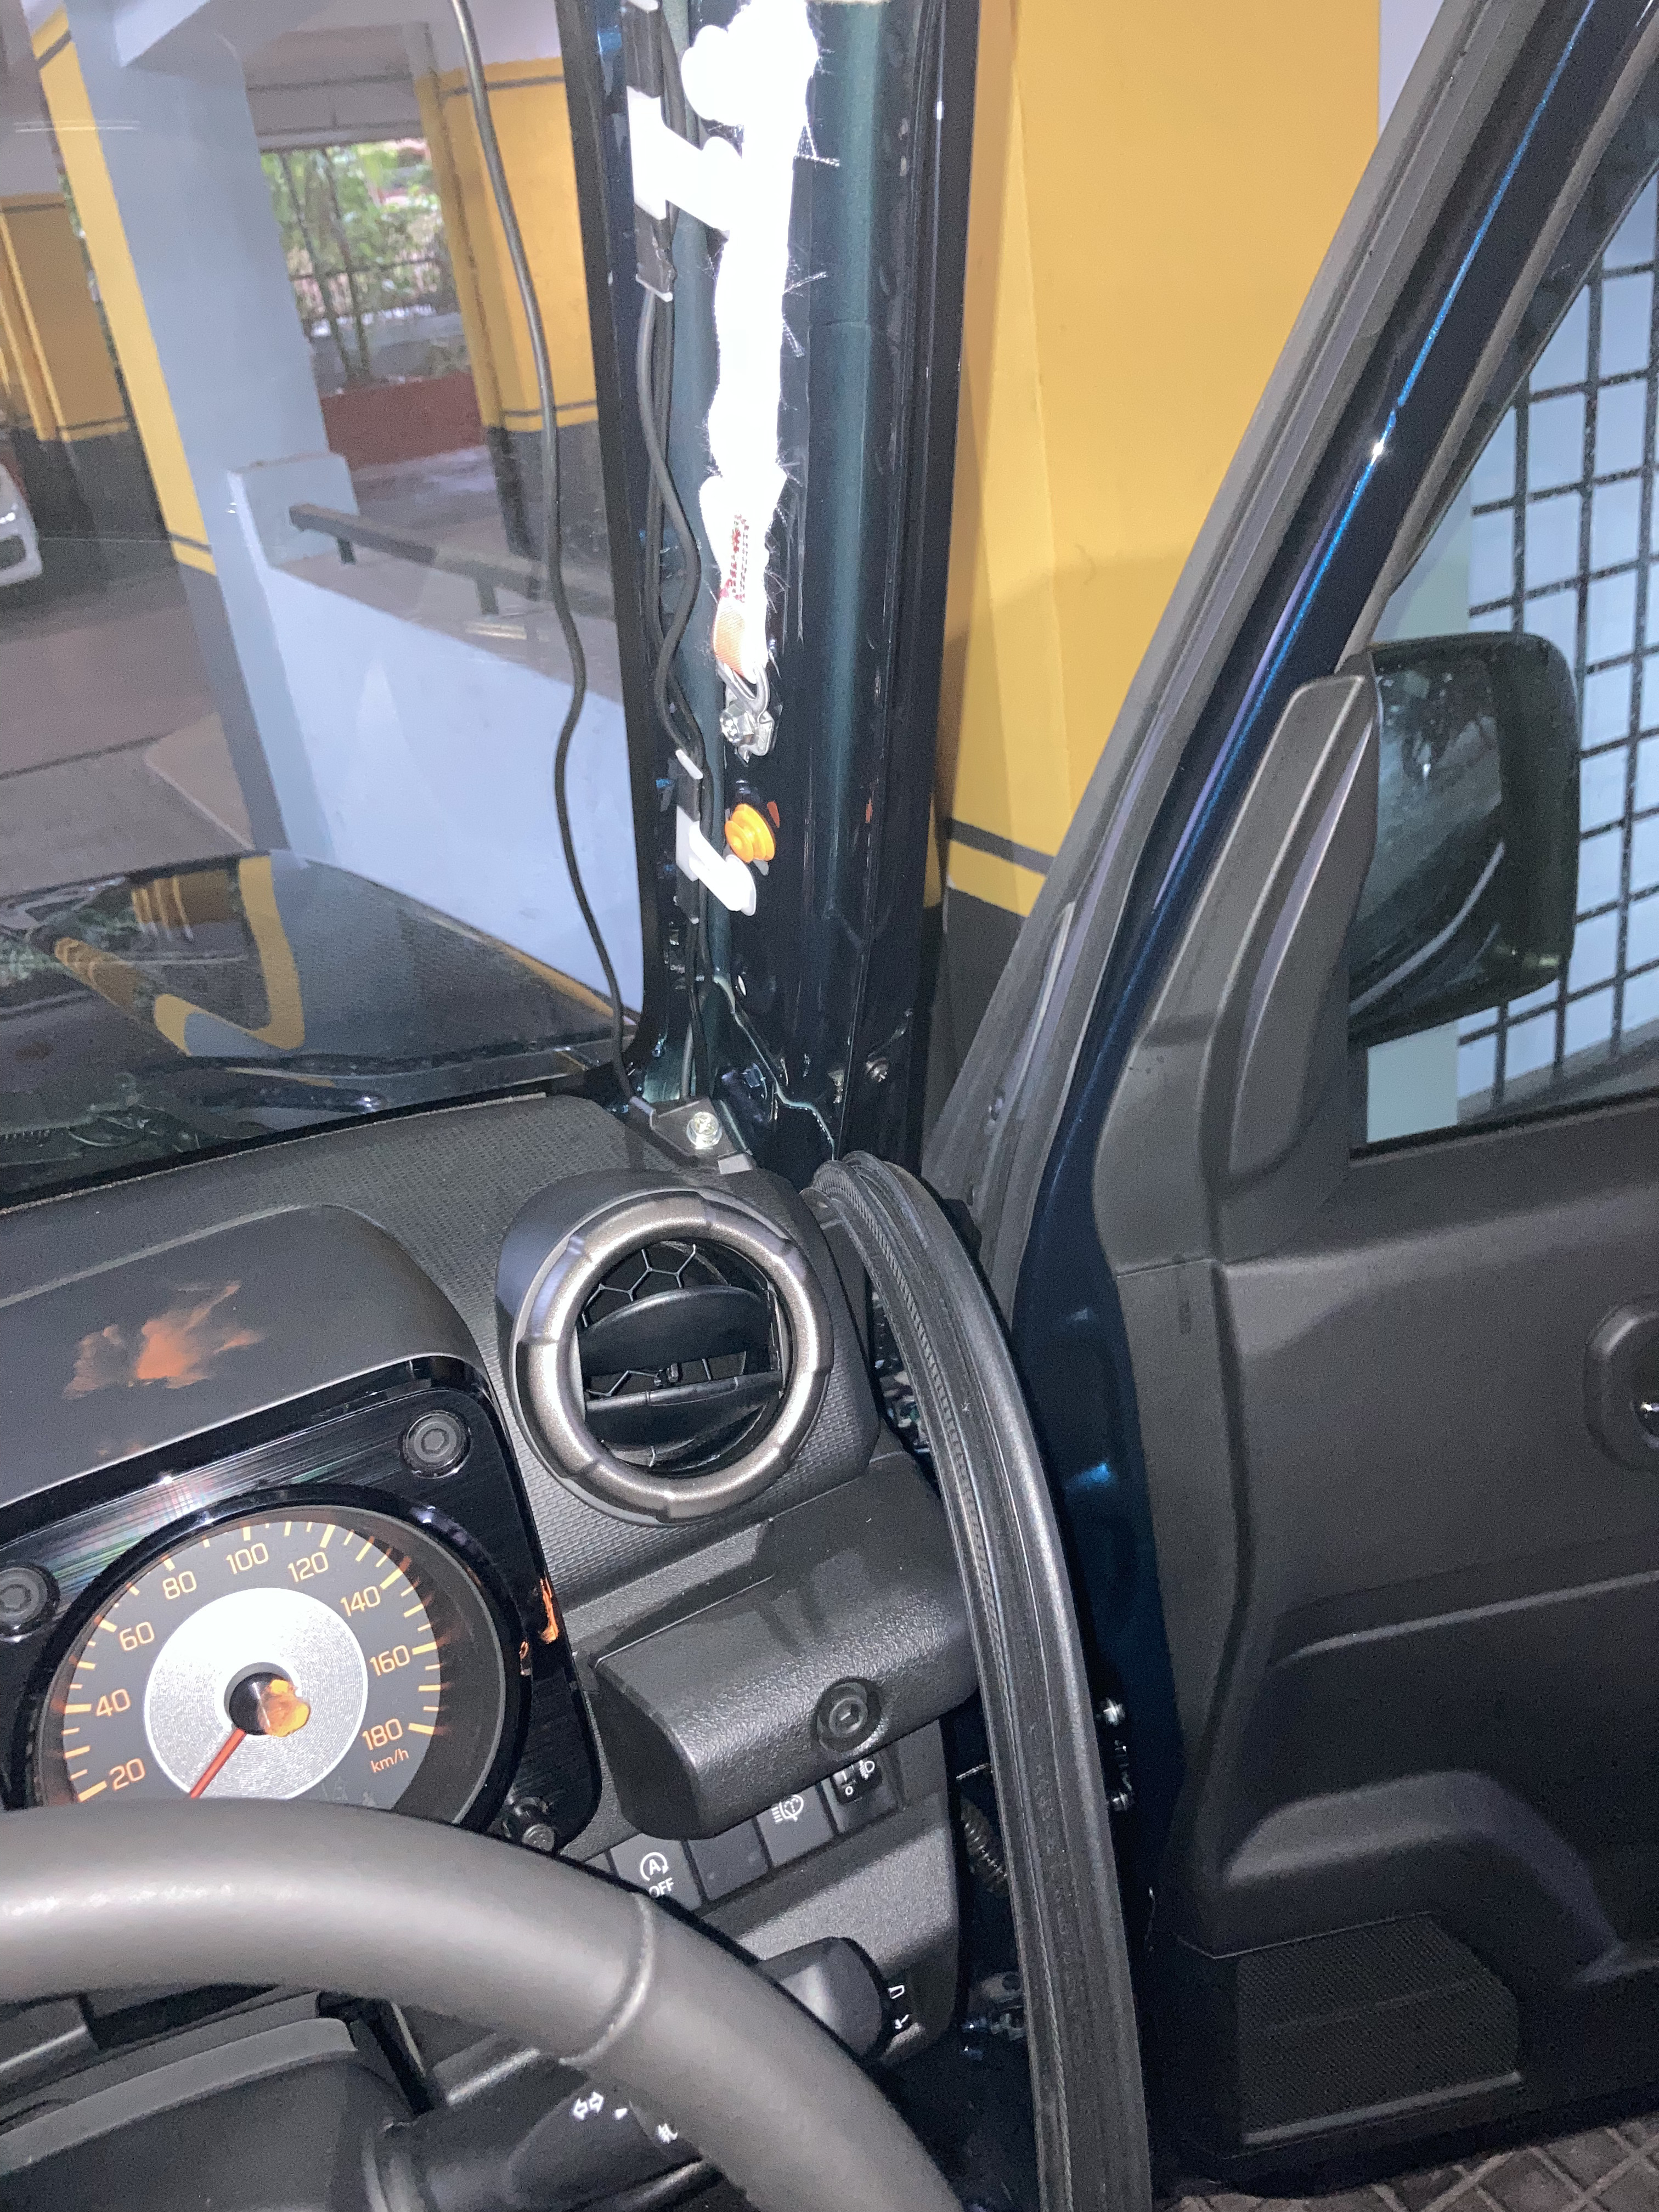
Now that we have our expectations sorted and assuming you have all the tools at the ready, let’s begin by slowly grabbing and pulling away the rubber beading on the driver door. It comes off fairly easily. Do not worry - it’s fine. you can put it back easily.

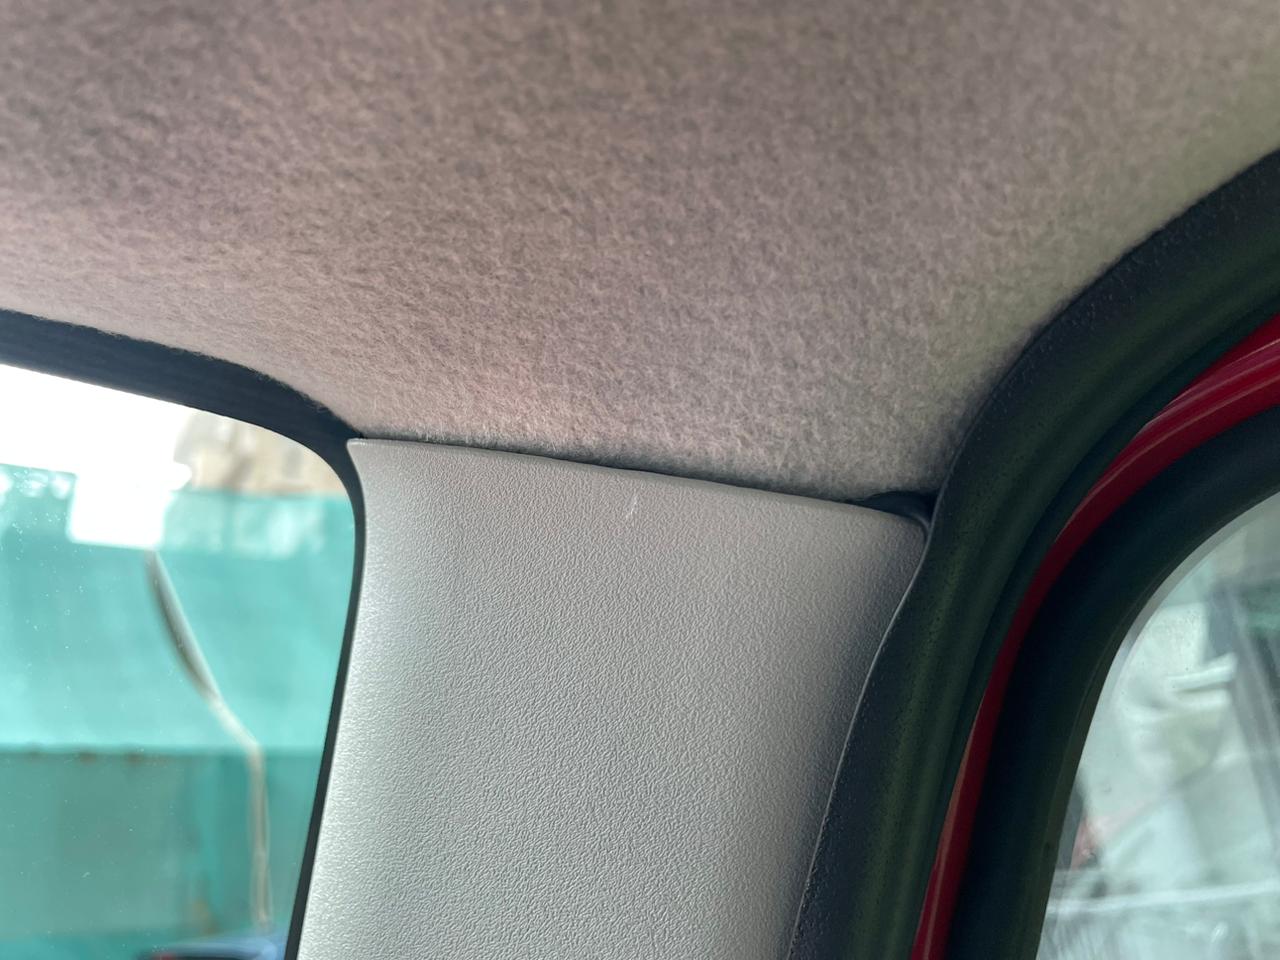
Now, with the gap created by the removal of the rubber beading, pull away the A Pillar cover.
then remove the two clips (Yellow and white in my case) at the top and bottom using the scissors/pliers - they are really tight so use good force there. even if they break, they are easily available at the service centers and hardly cost Rs. 5-10.
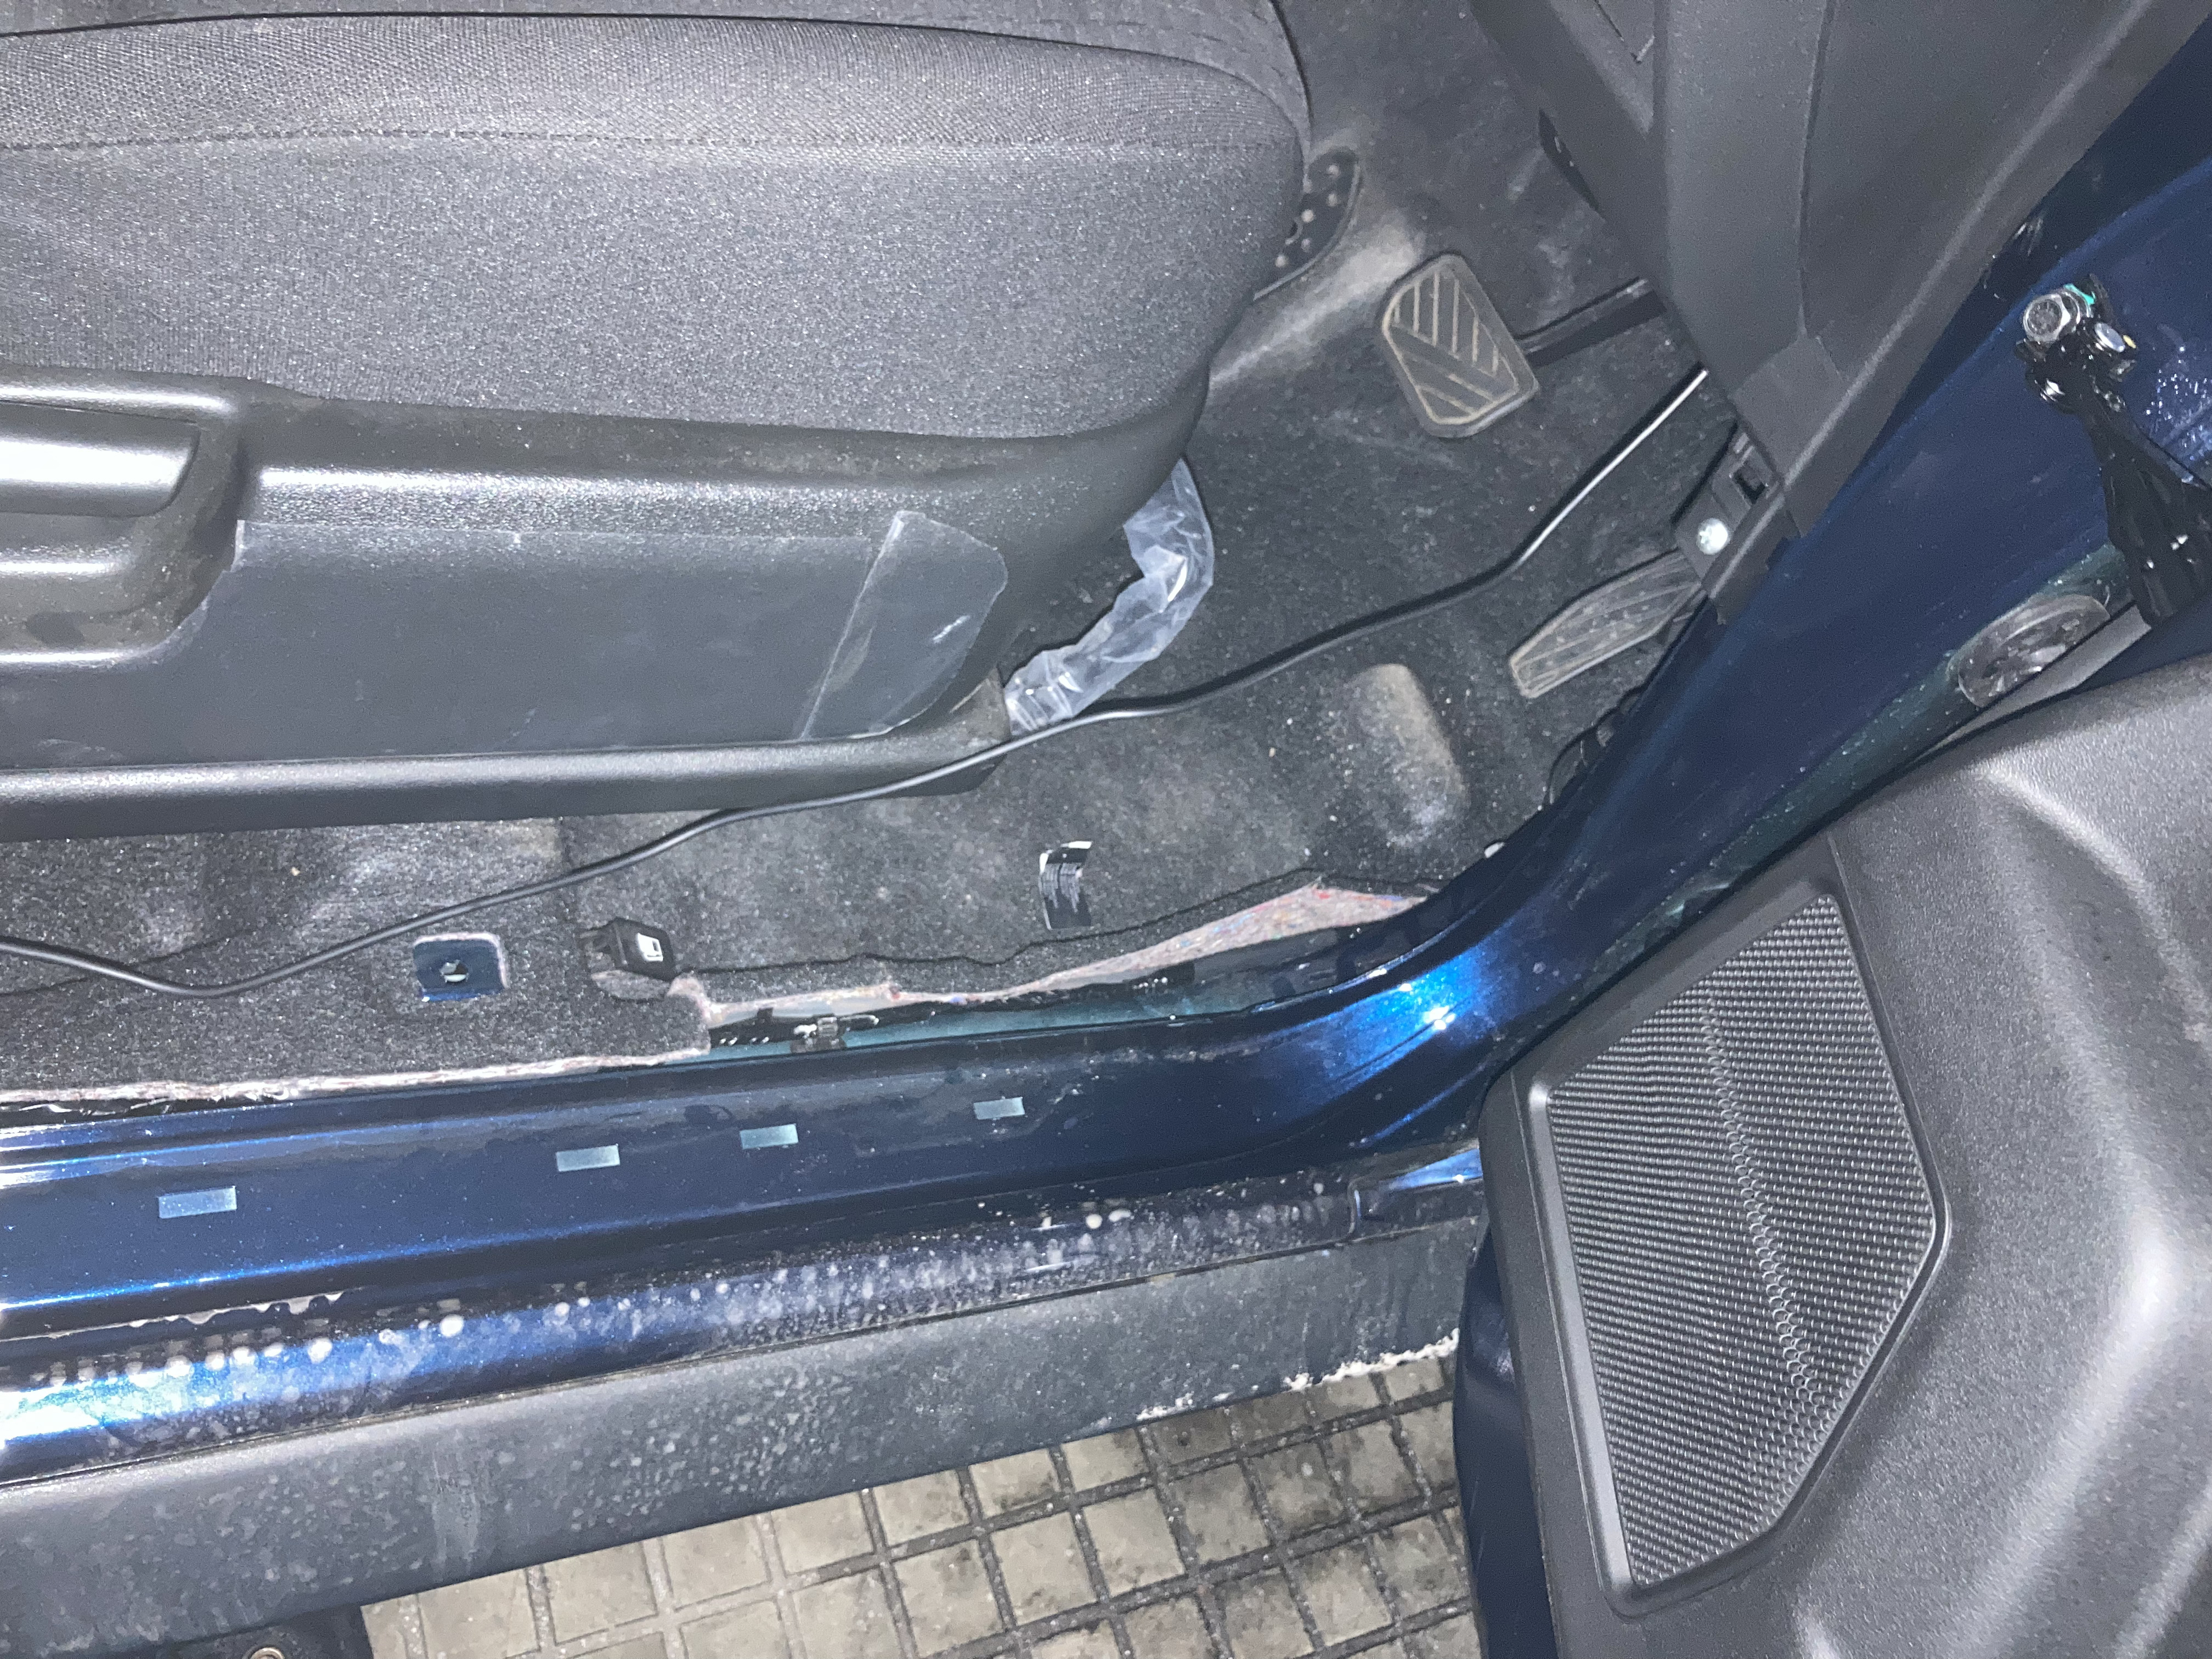
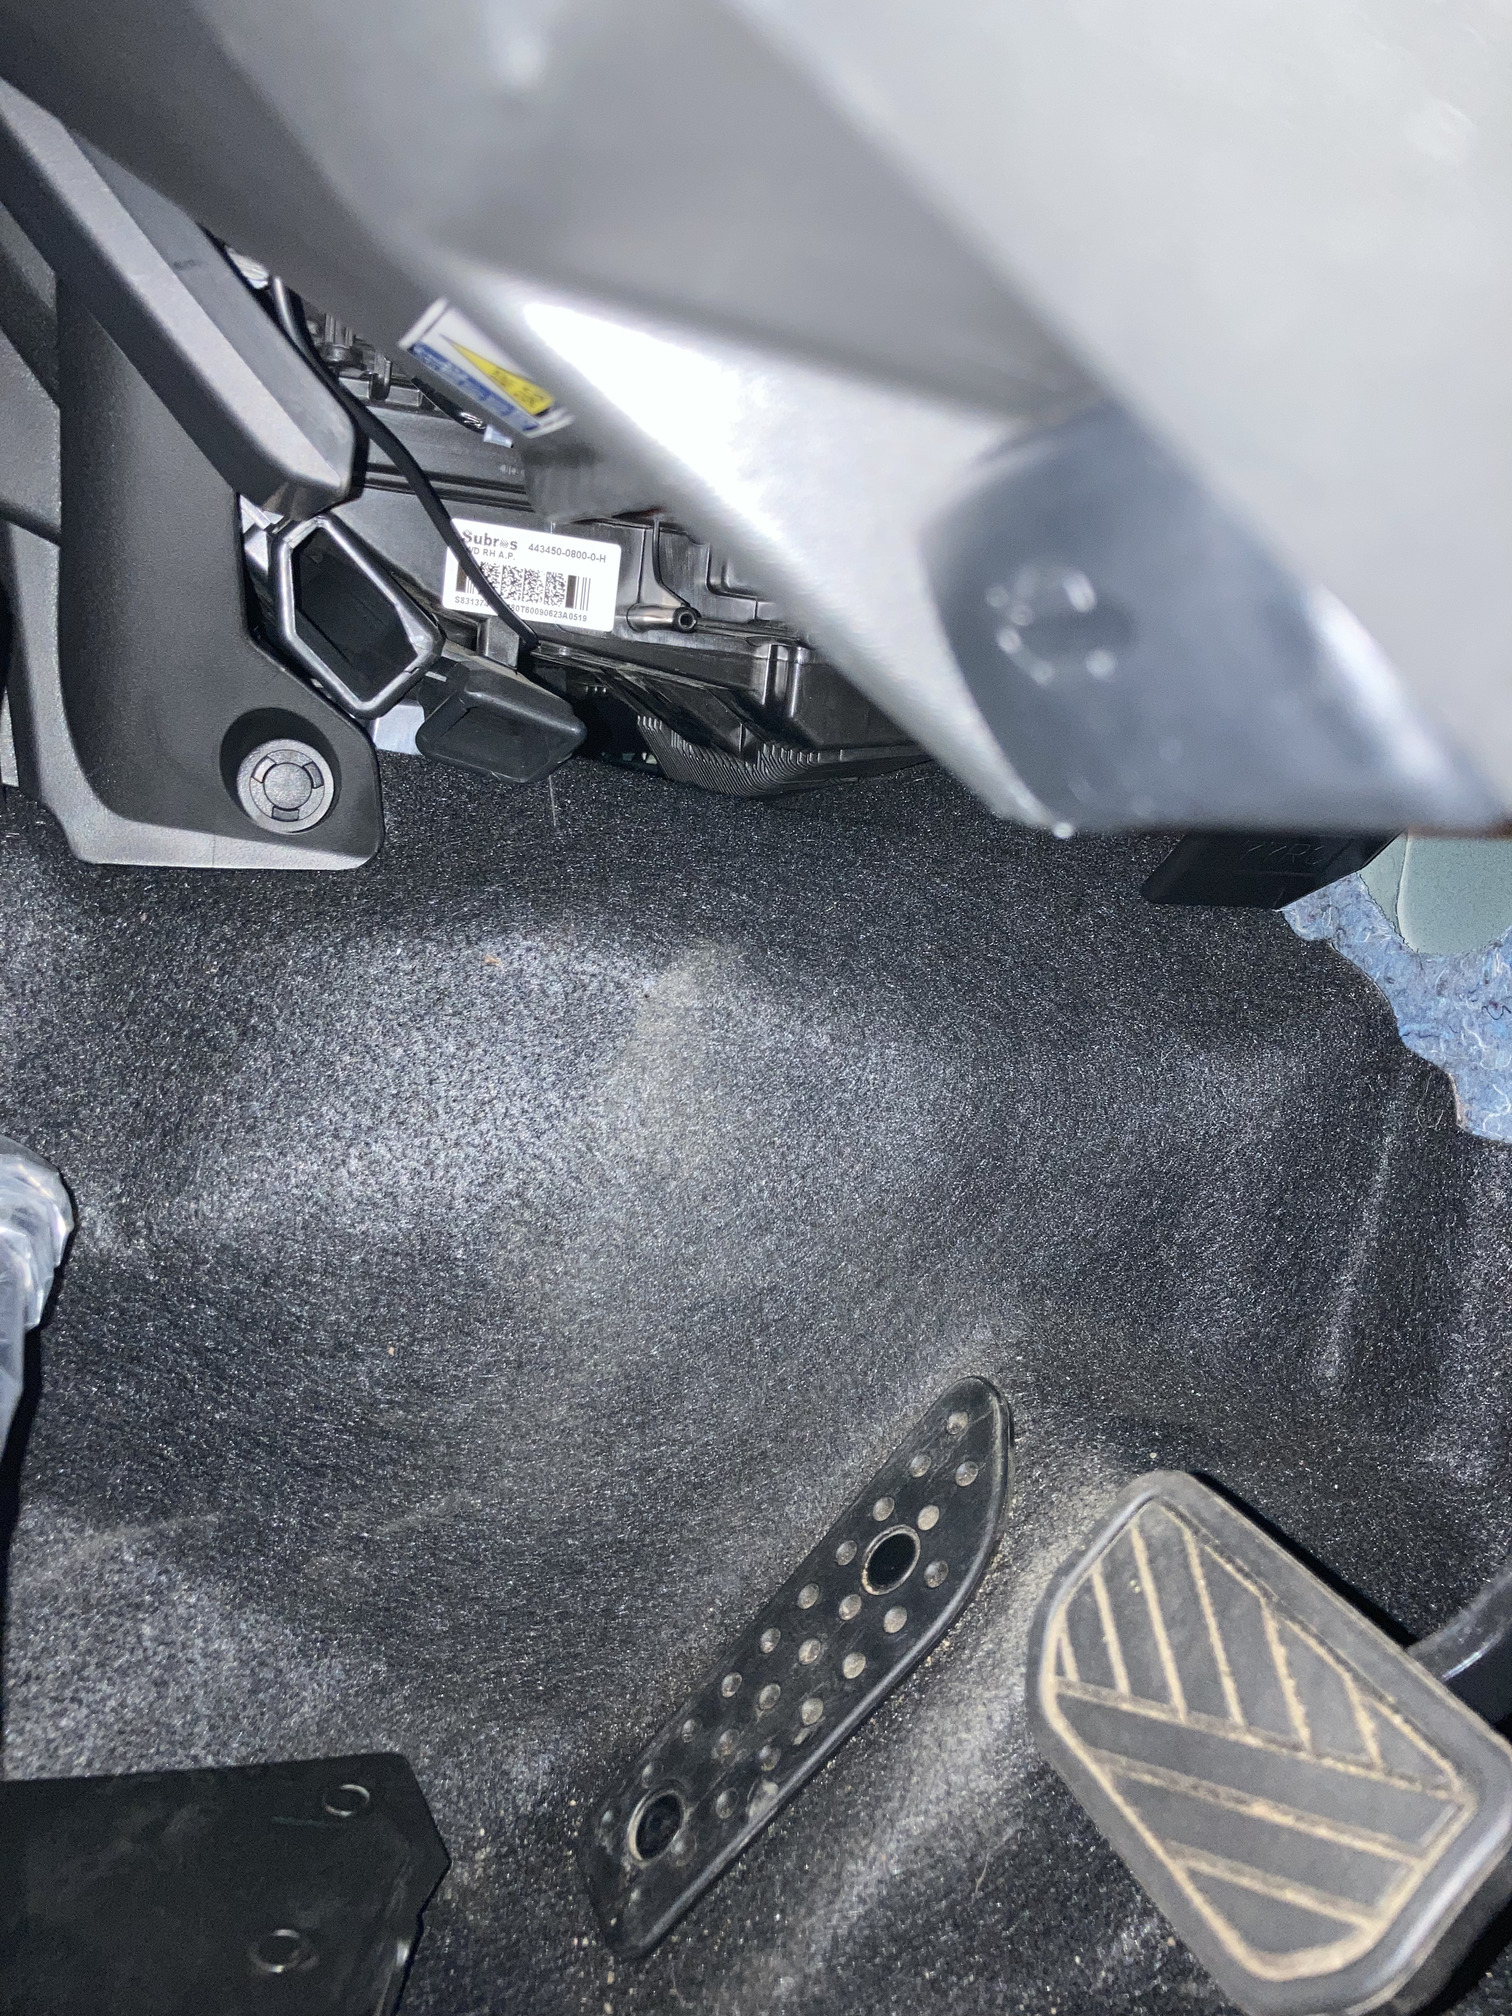
Now, under the driver footwell, the objectives are to remove the triangular shaped cover and the door sill.
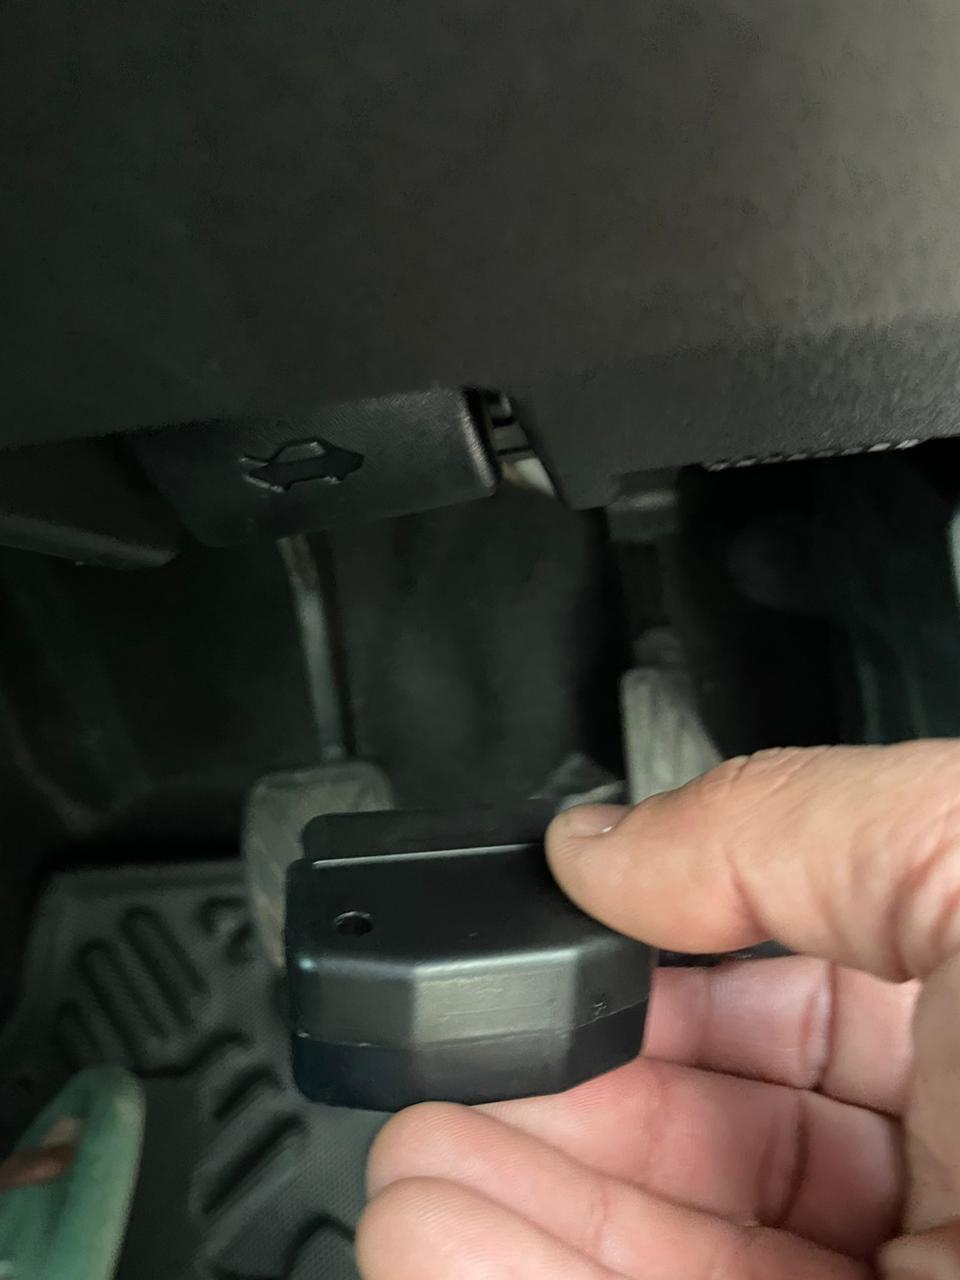
There is a plastic screw which looks like a button with a flat head right behind the accelerator pedal. You can turn it with your fingers. It is that easy. Once, that is removed, the panel needs to be removed by pushing it forward near the curve and then upwards.
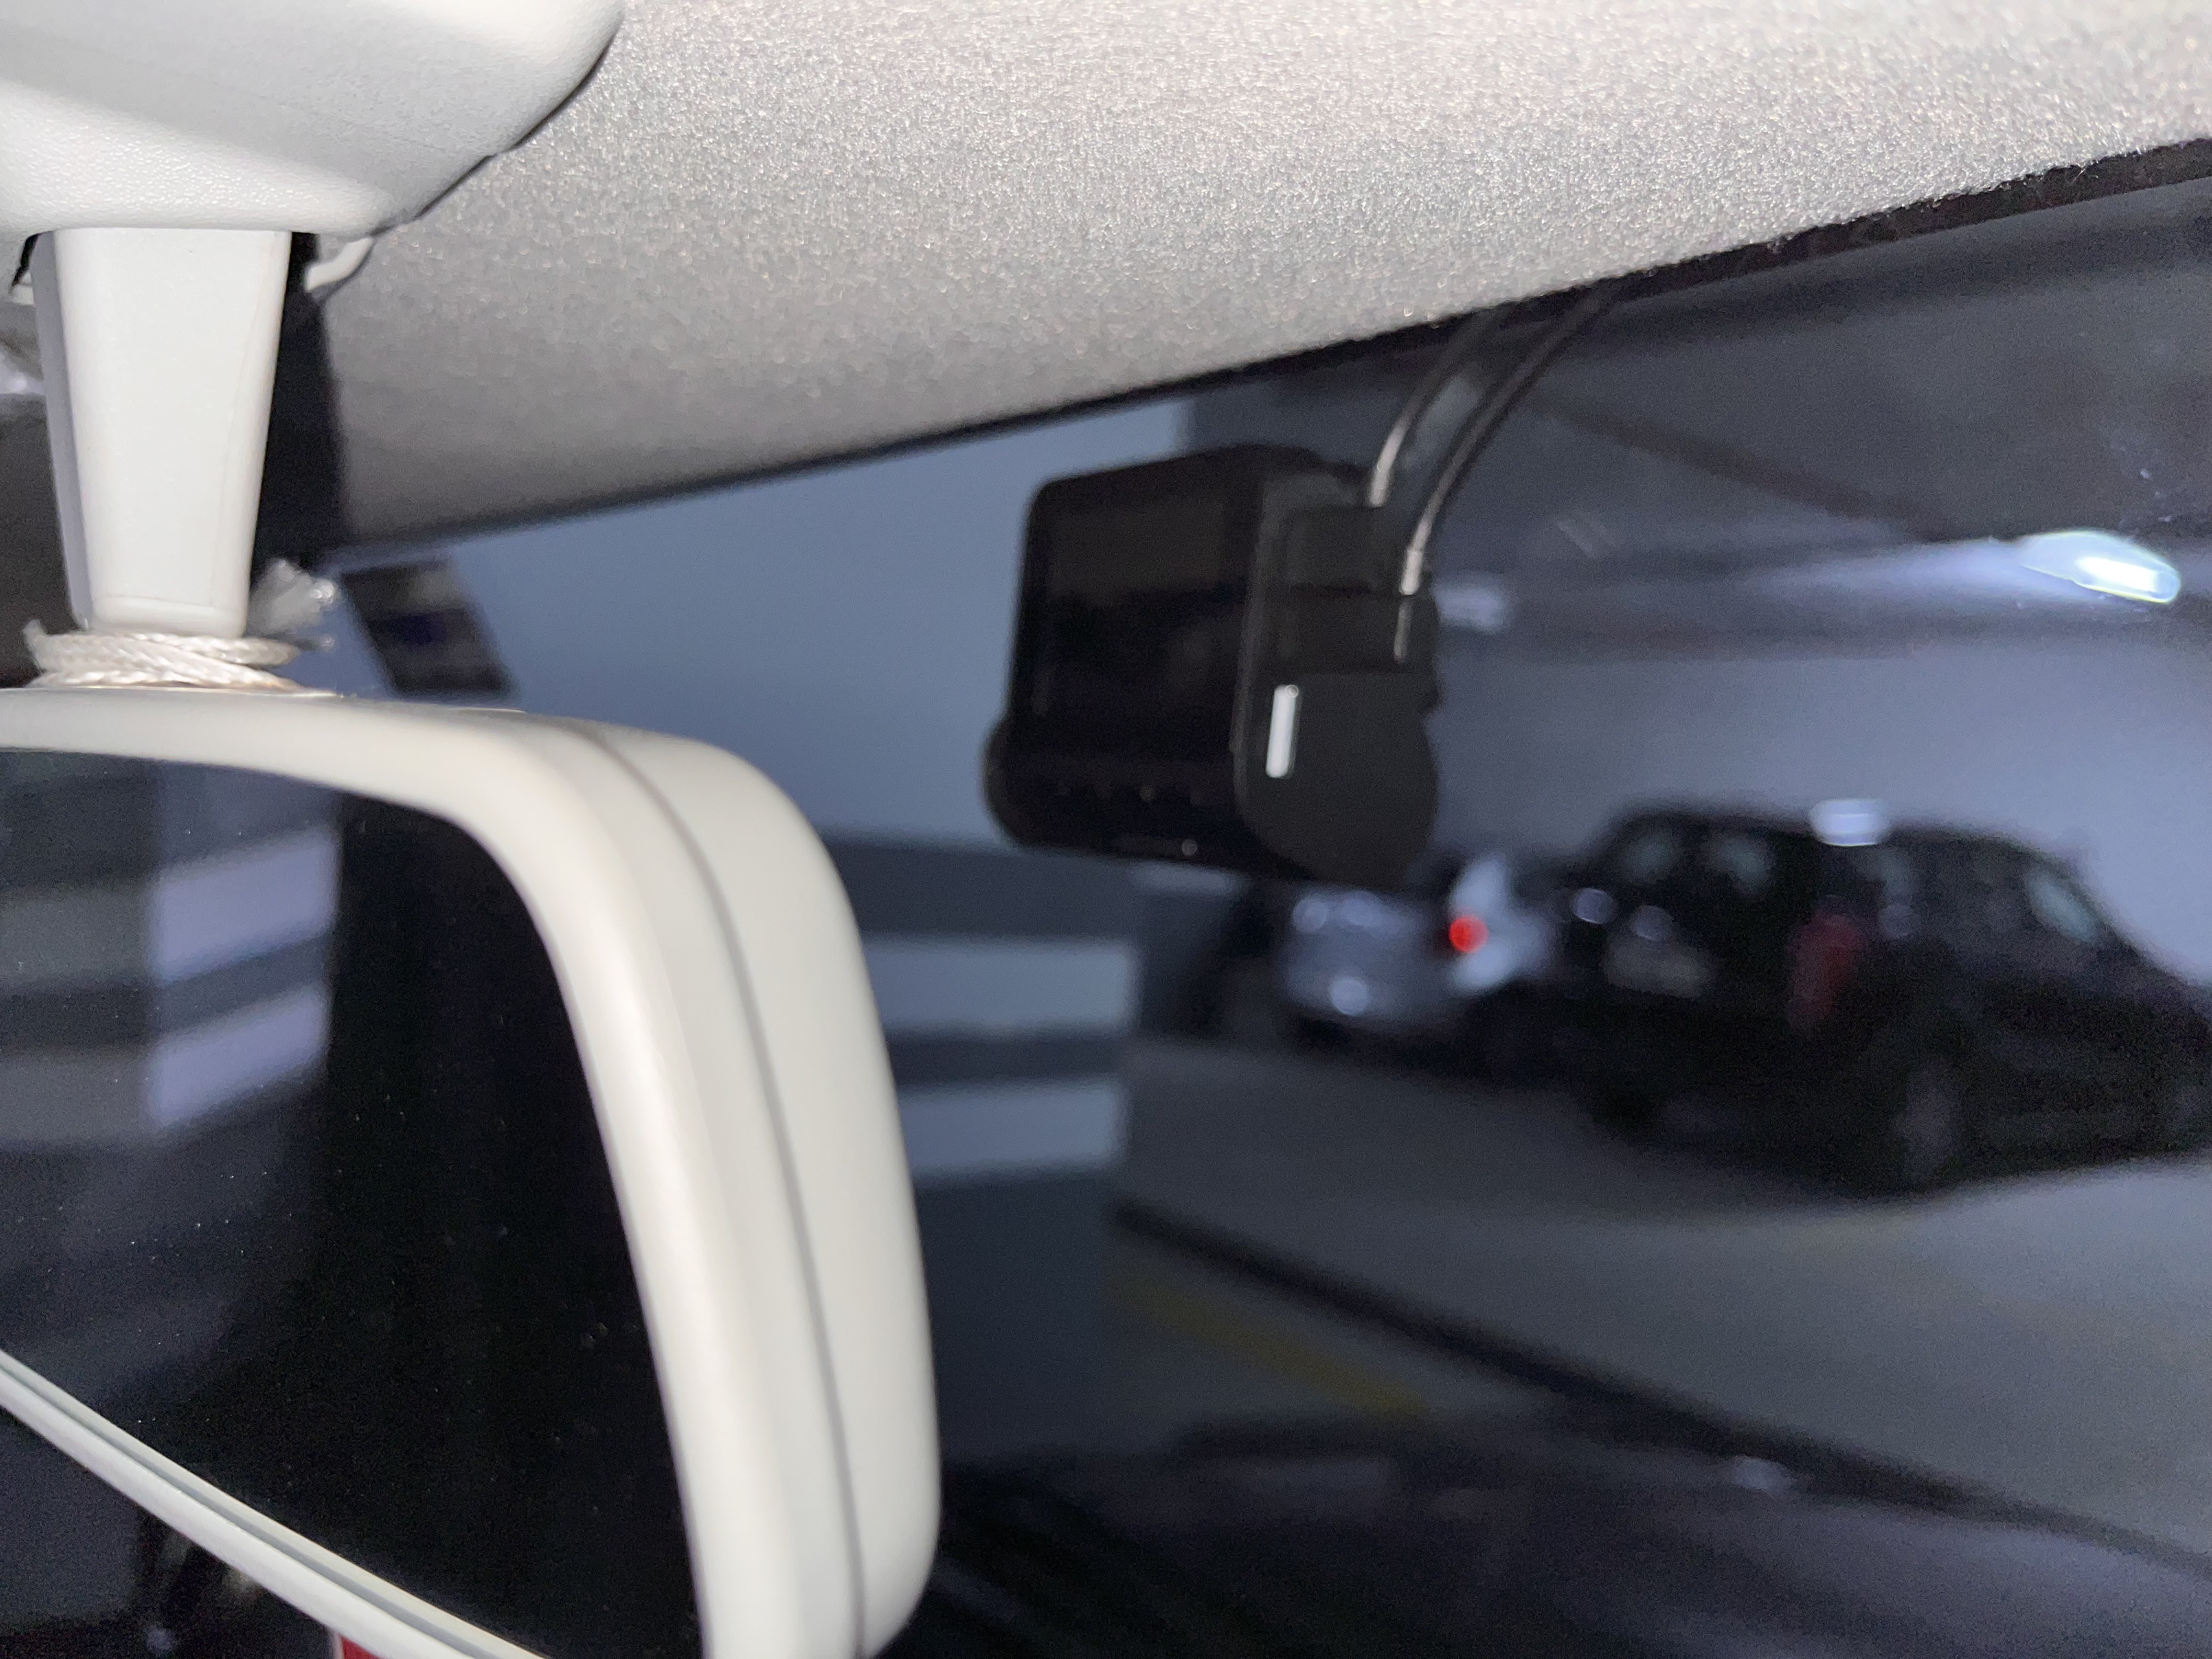
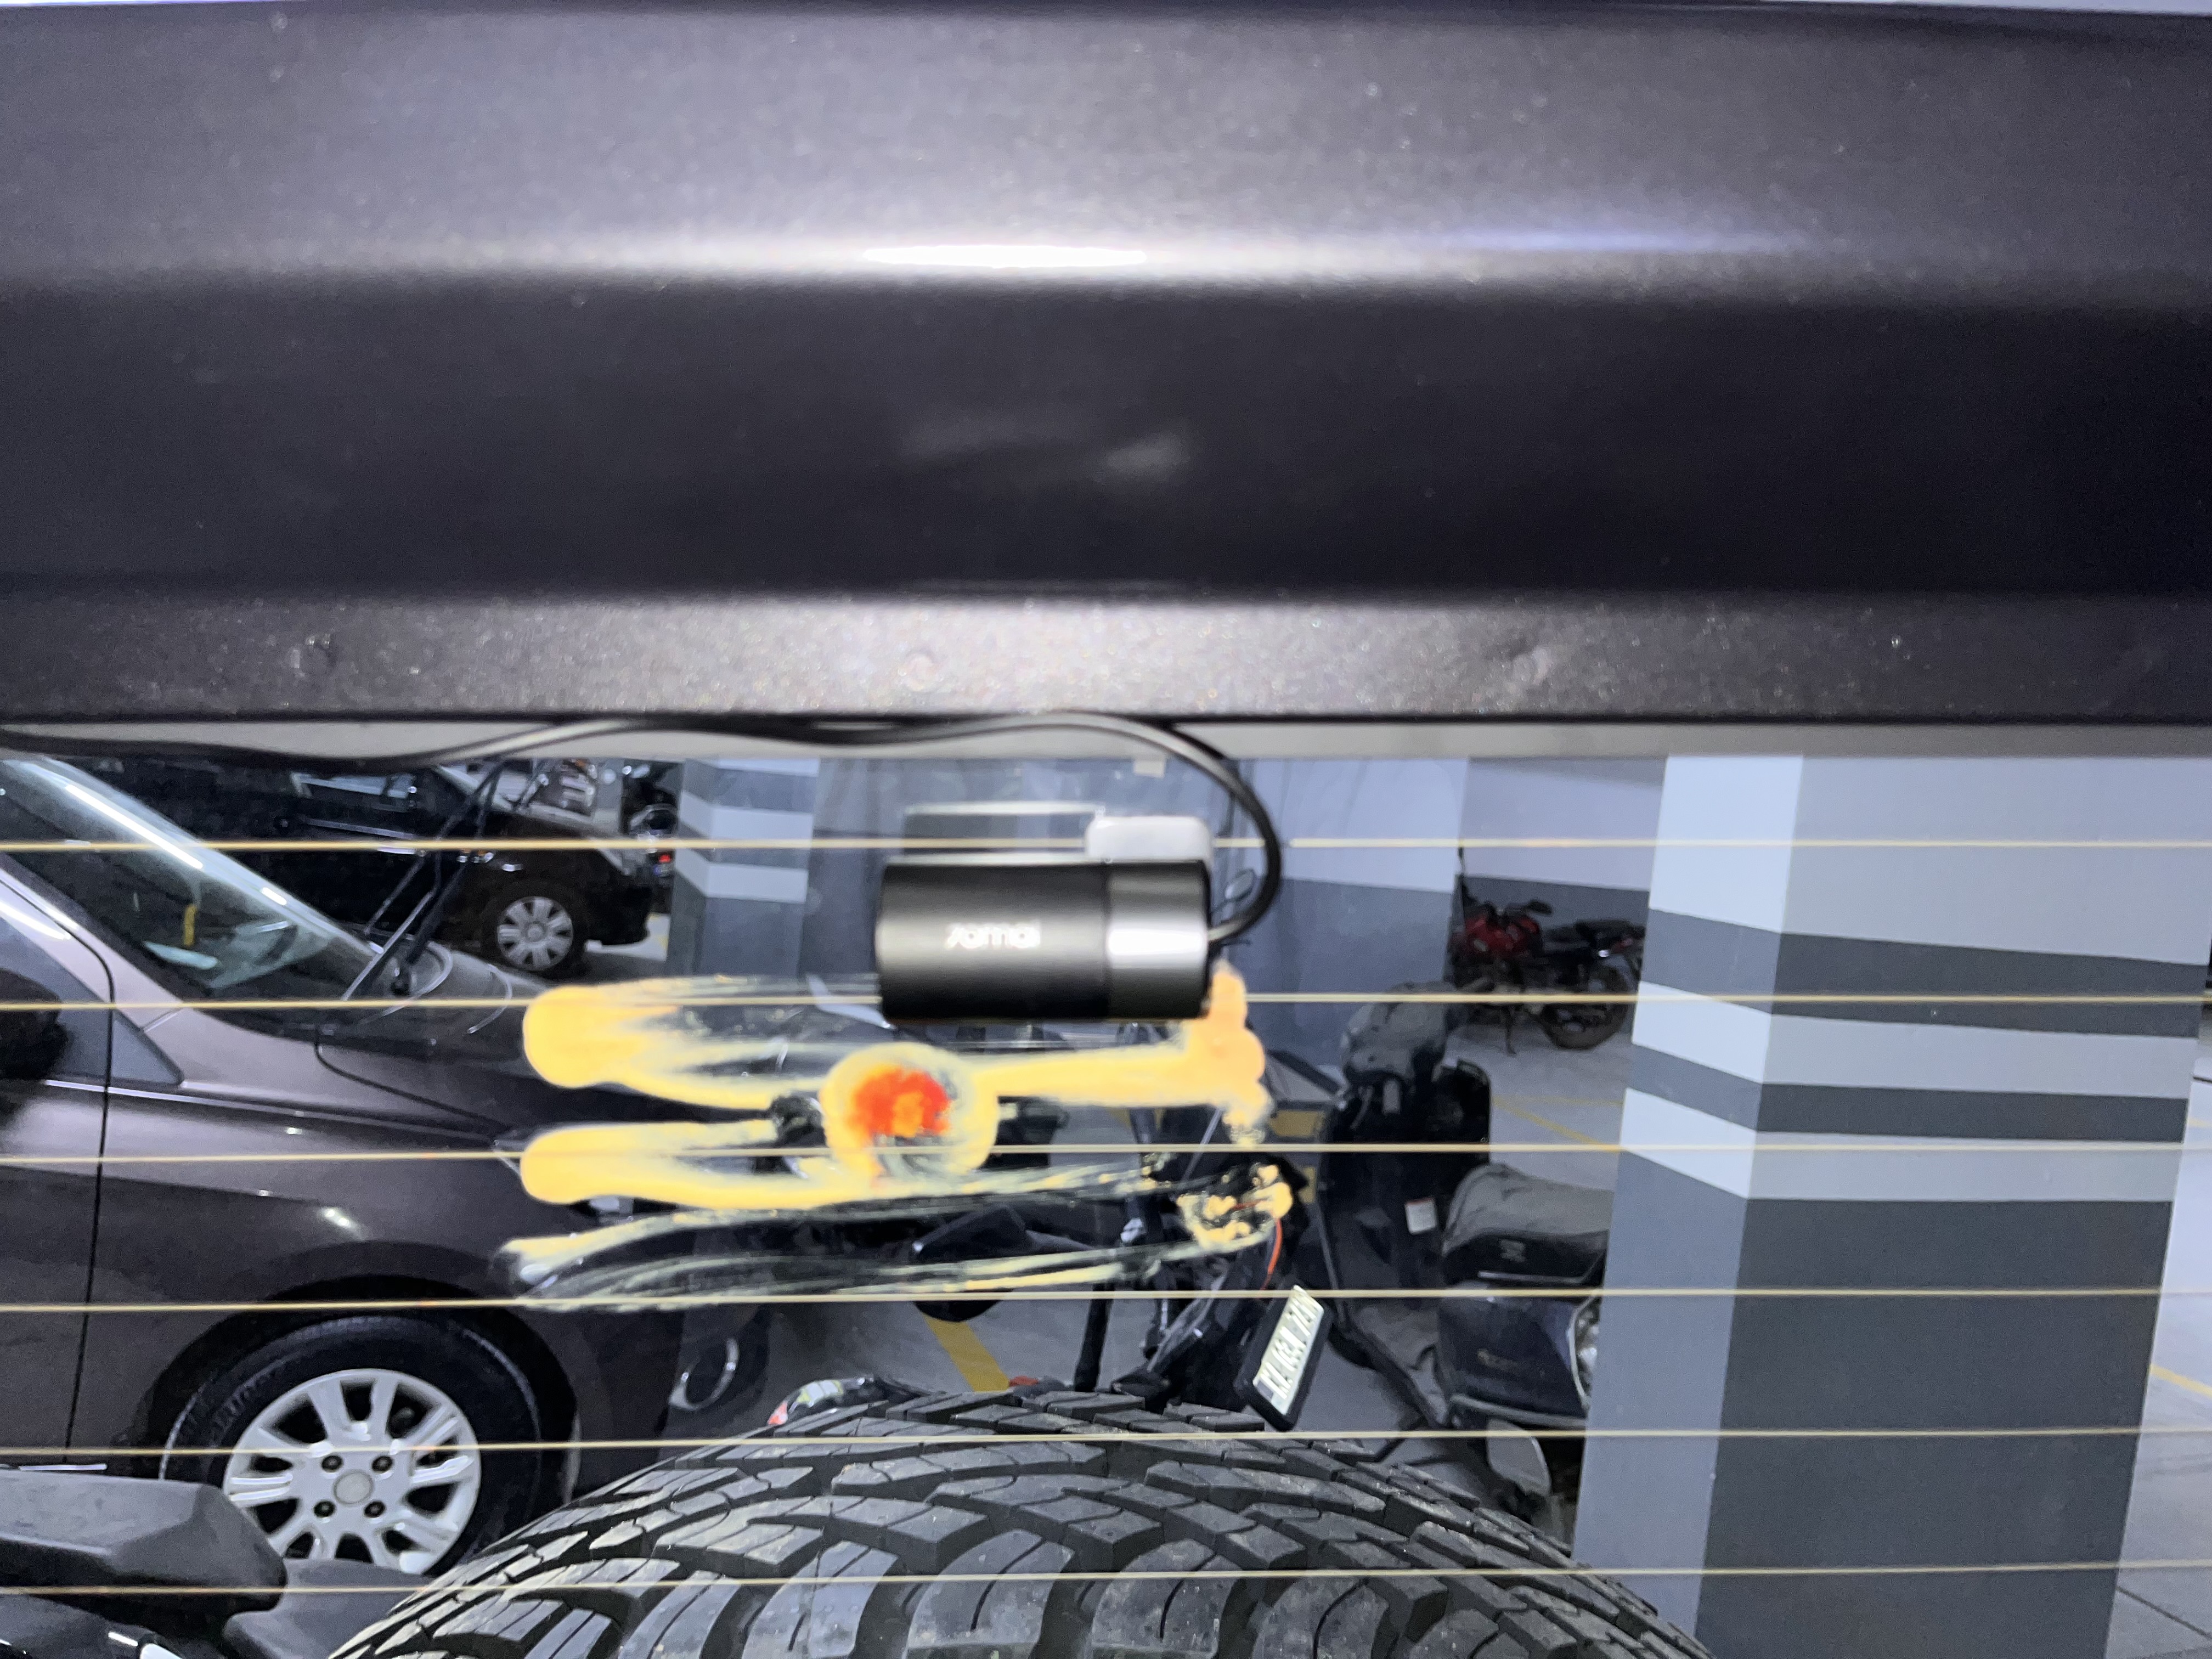
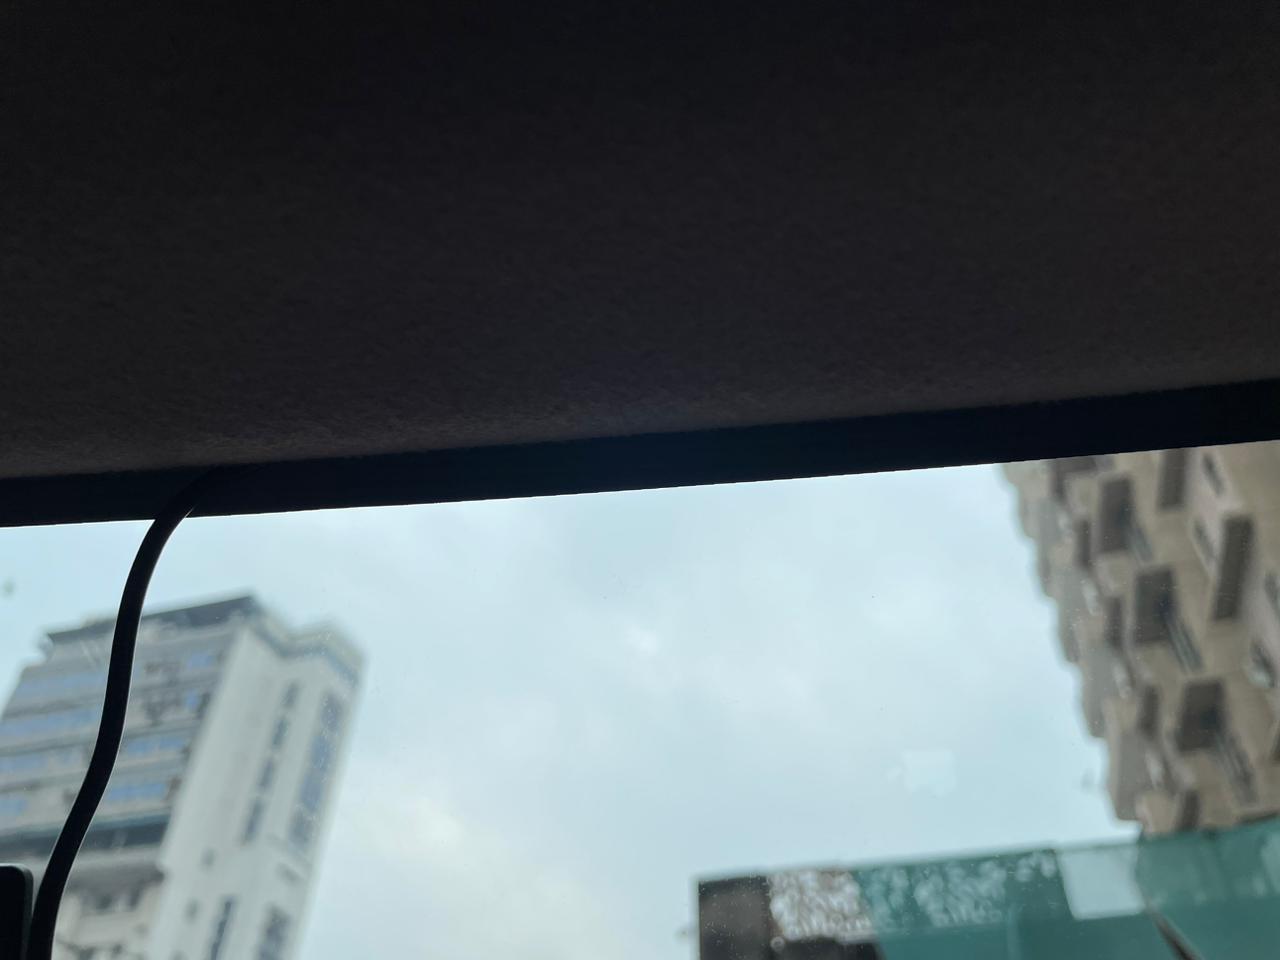
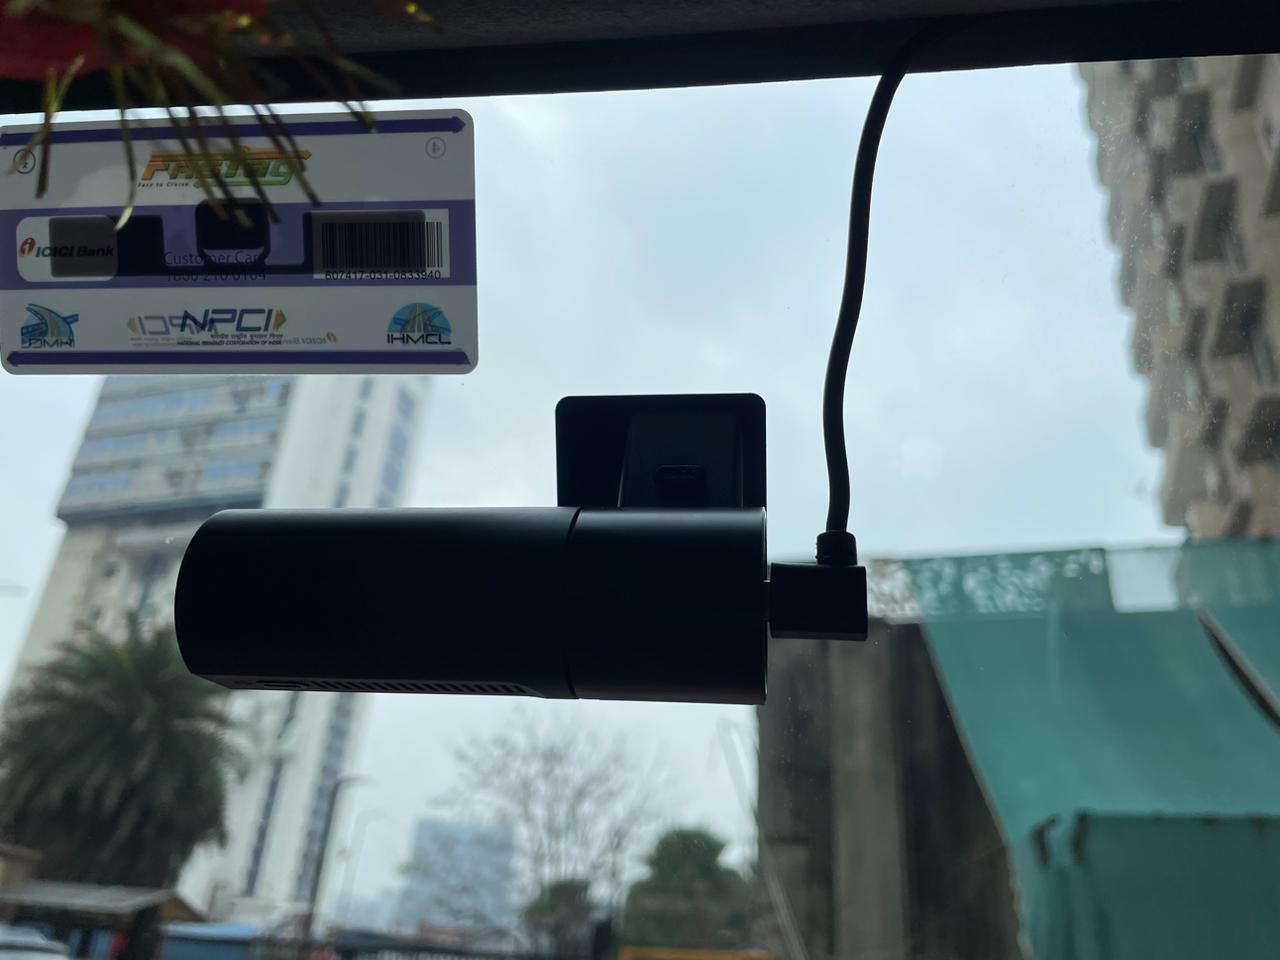
it is preferred to first position the wire near where the camera is about to be mounted. OR better still, mount the camera and keep tucking the wire into the roof liner using the pry tool. It is very easy to push the wire inside and it’ll hold till you’re at the A Pillar and then drop that wire down into there and it’ll happily get stuck somewhere behind the AC vent. but worry not, pull it out and try again. DO put your hand from below the steering column and try to feel and find the wire behind there.
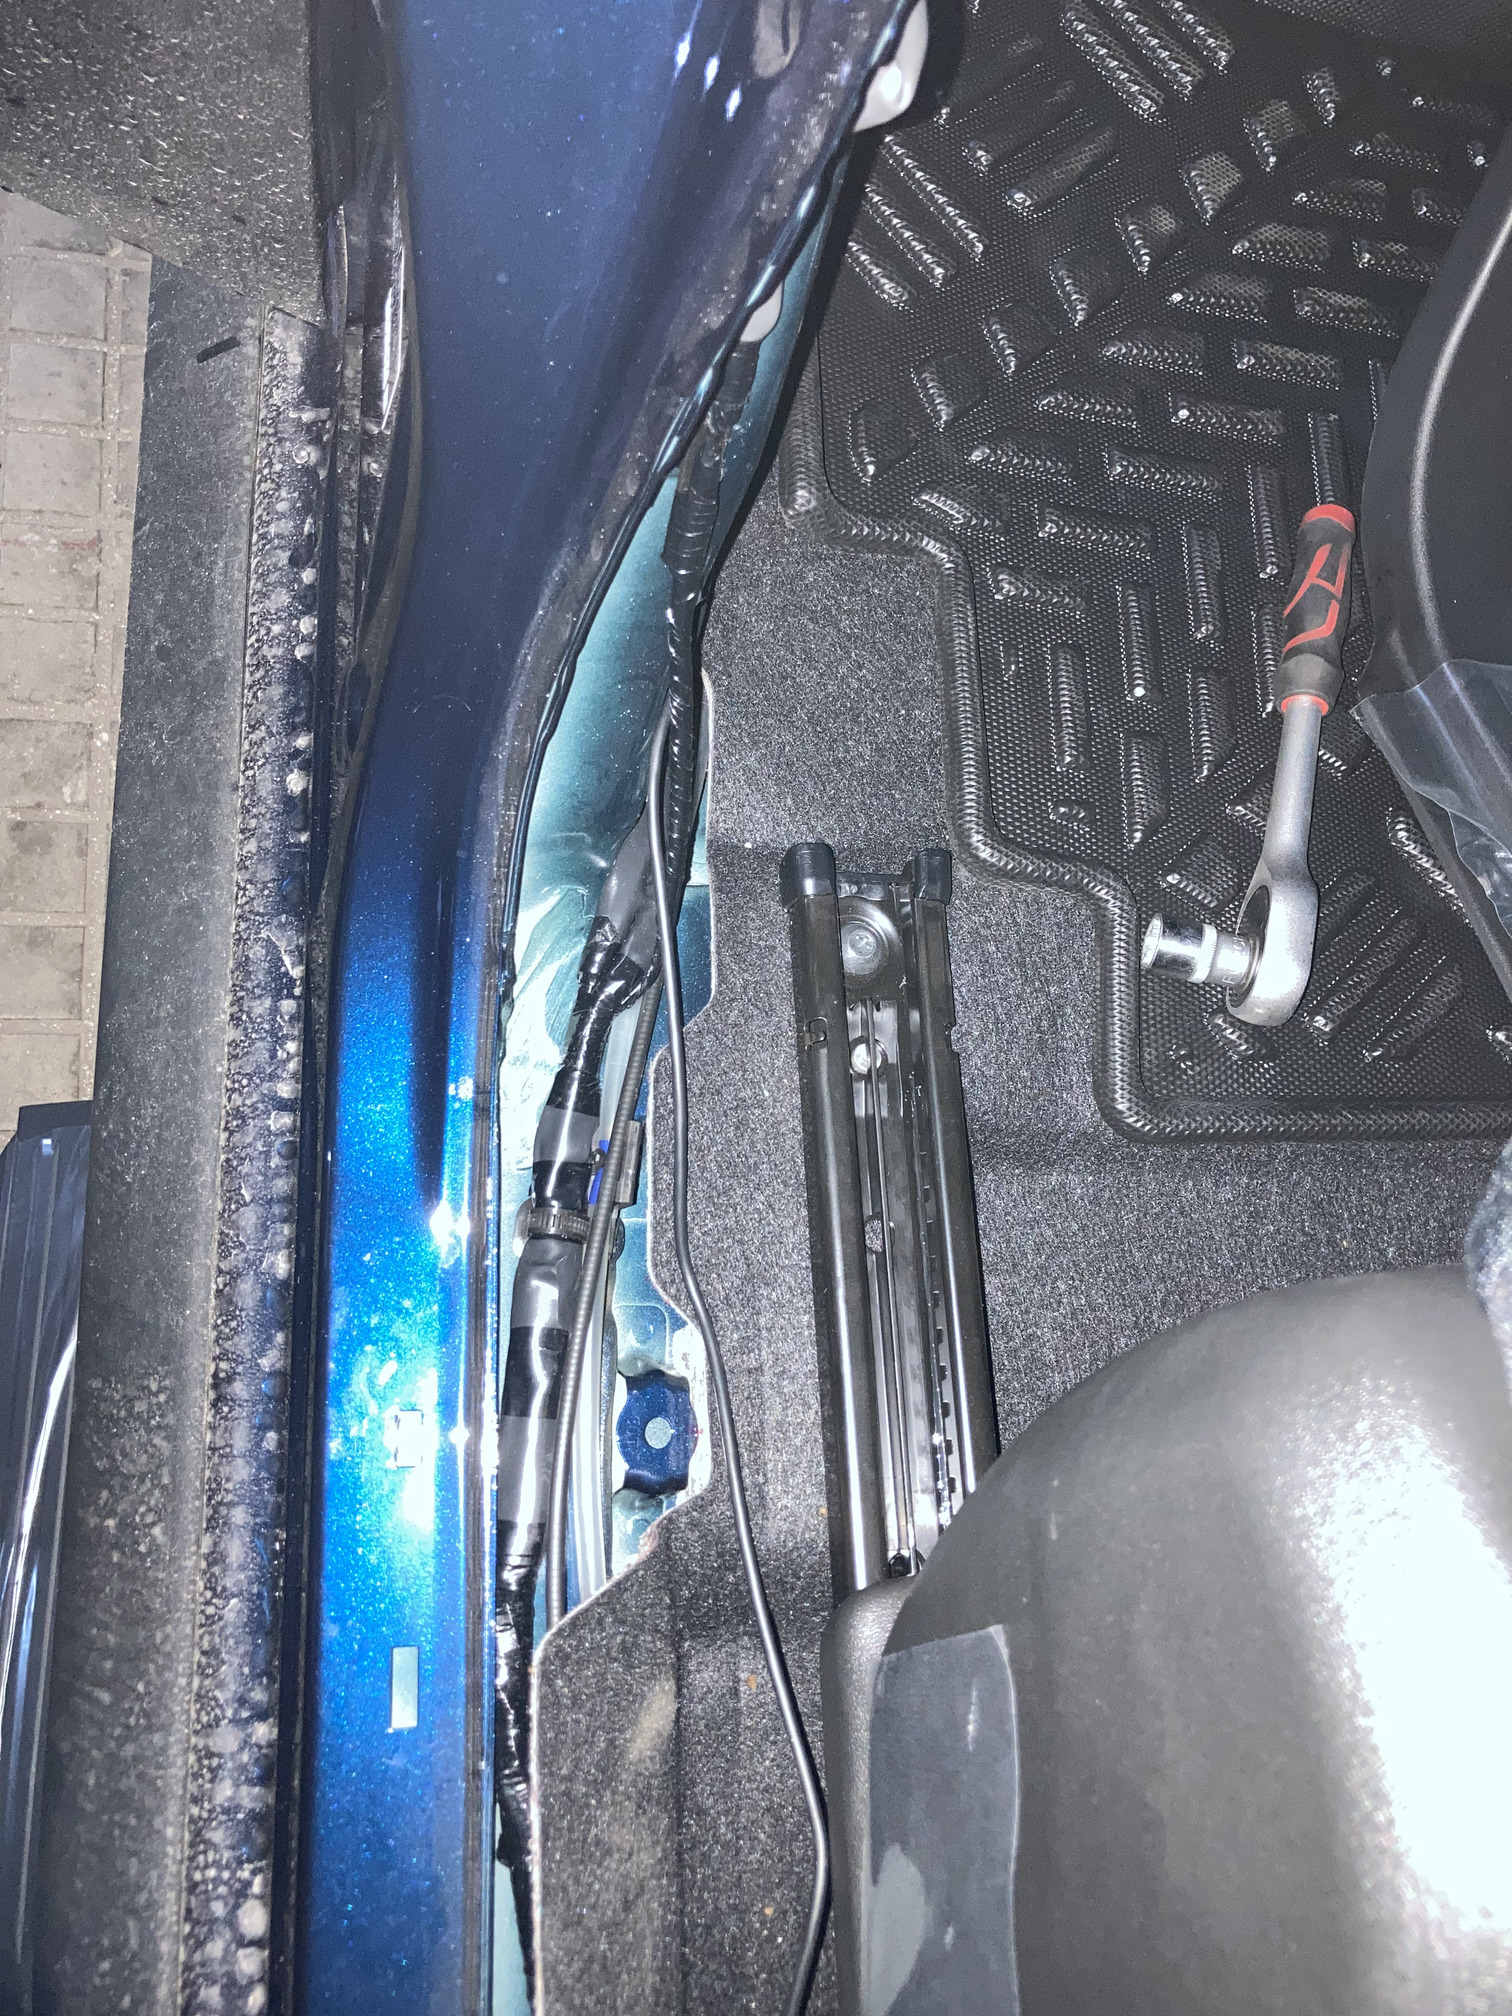
Now, for the front dash cam, you can route the wire from behind the console like in the image. There’s lot of space there and you can either tuck it there and use the provided 12V USB socket or route it further ahead into the fuse box.
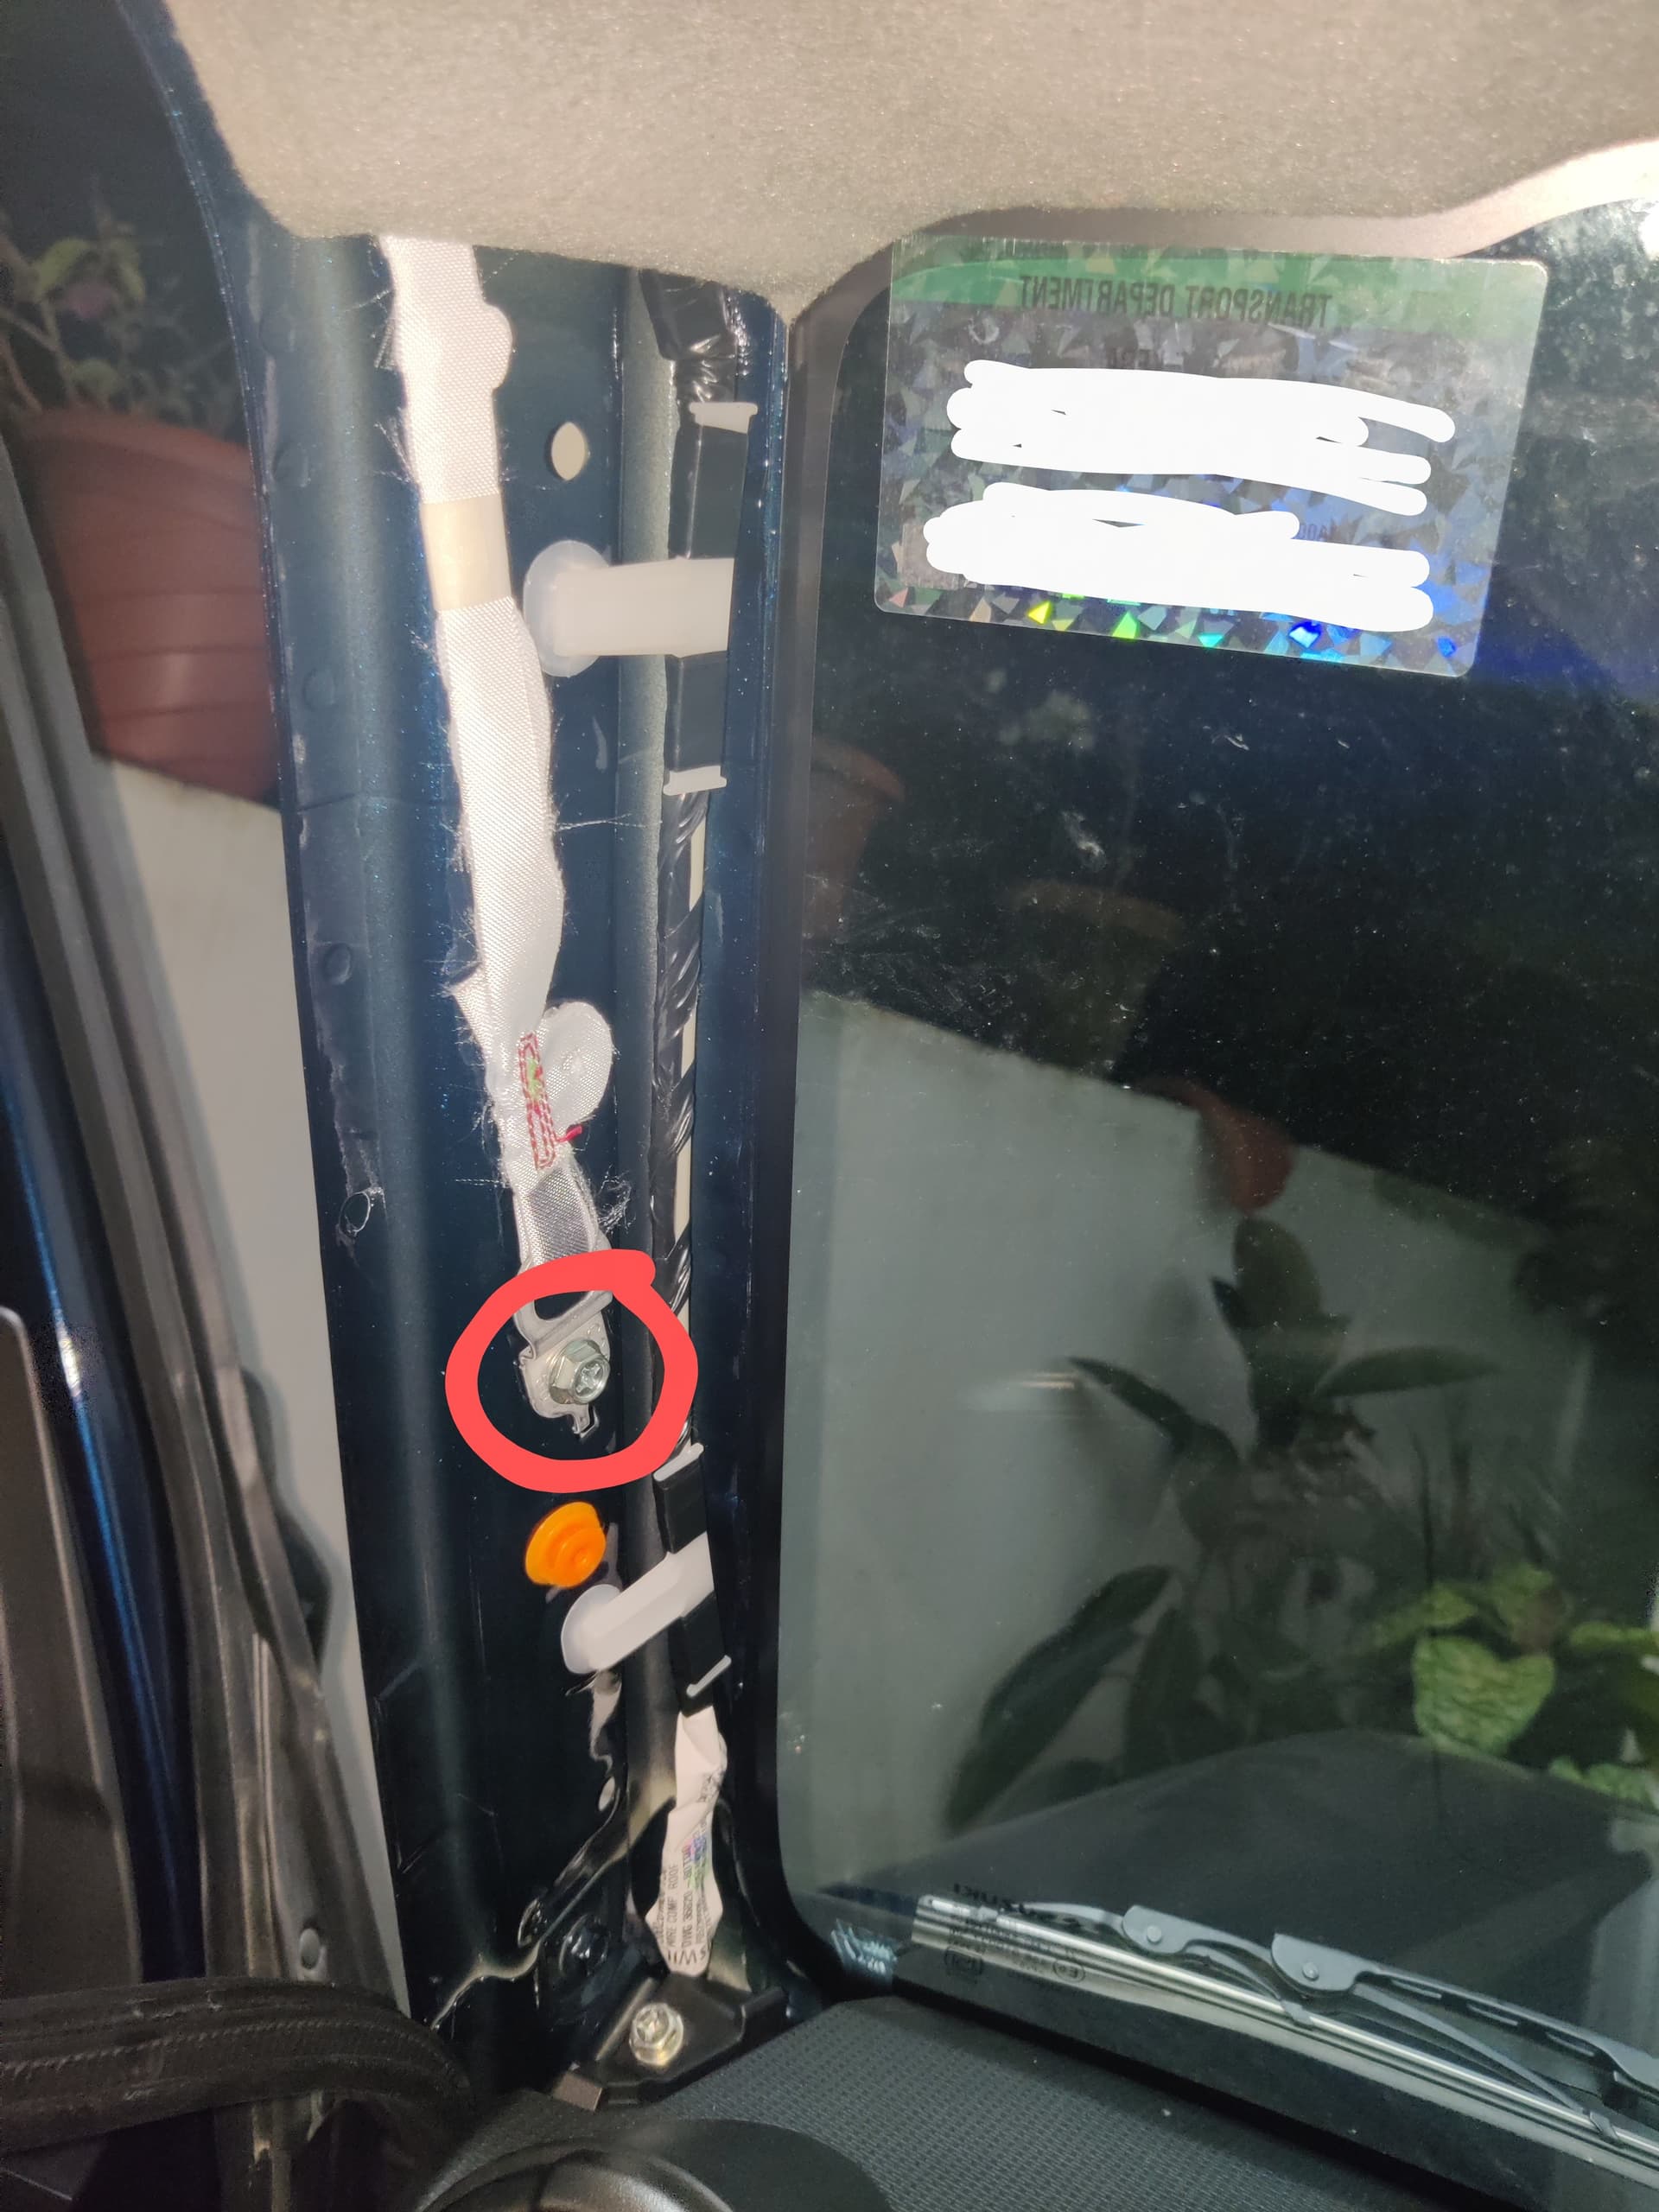
Push the driver seat fully front and using the #14 socket, remove the bolt holding the seatbelt. Yes, it is safe and you will be fine. Finally remove the “T” shaped lower cover which will reveal a crevice from where you should route the rear camera wire out of and under the bolt.
Then, under the rear passenger seat, there’s a button type of a lock. Use a pry tool and remove it and then just like the driver’s seat, remove the door sill and the rubber beading and continue the same at the rear of the vehicle for the quarter panel in the boot.

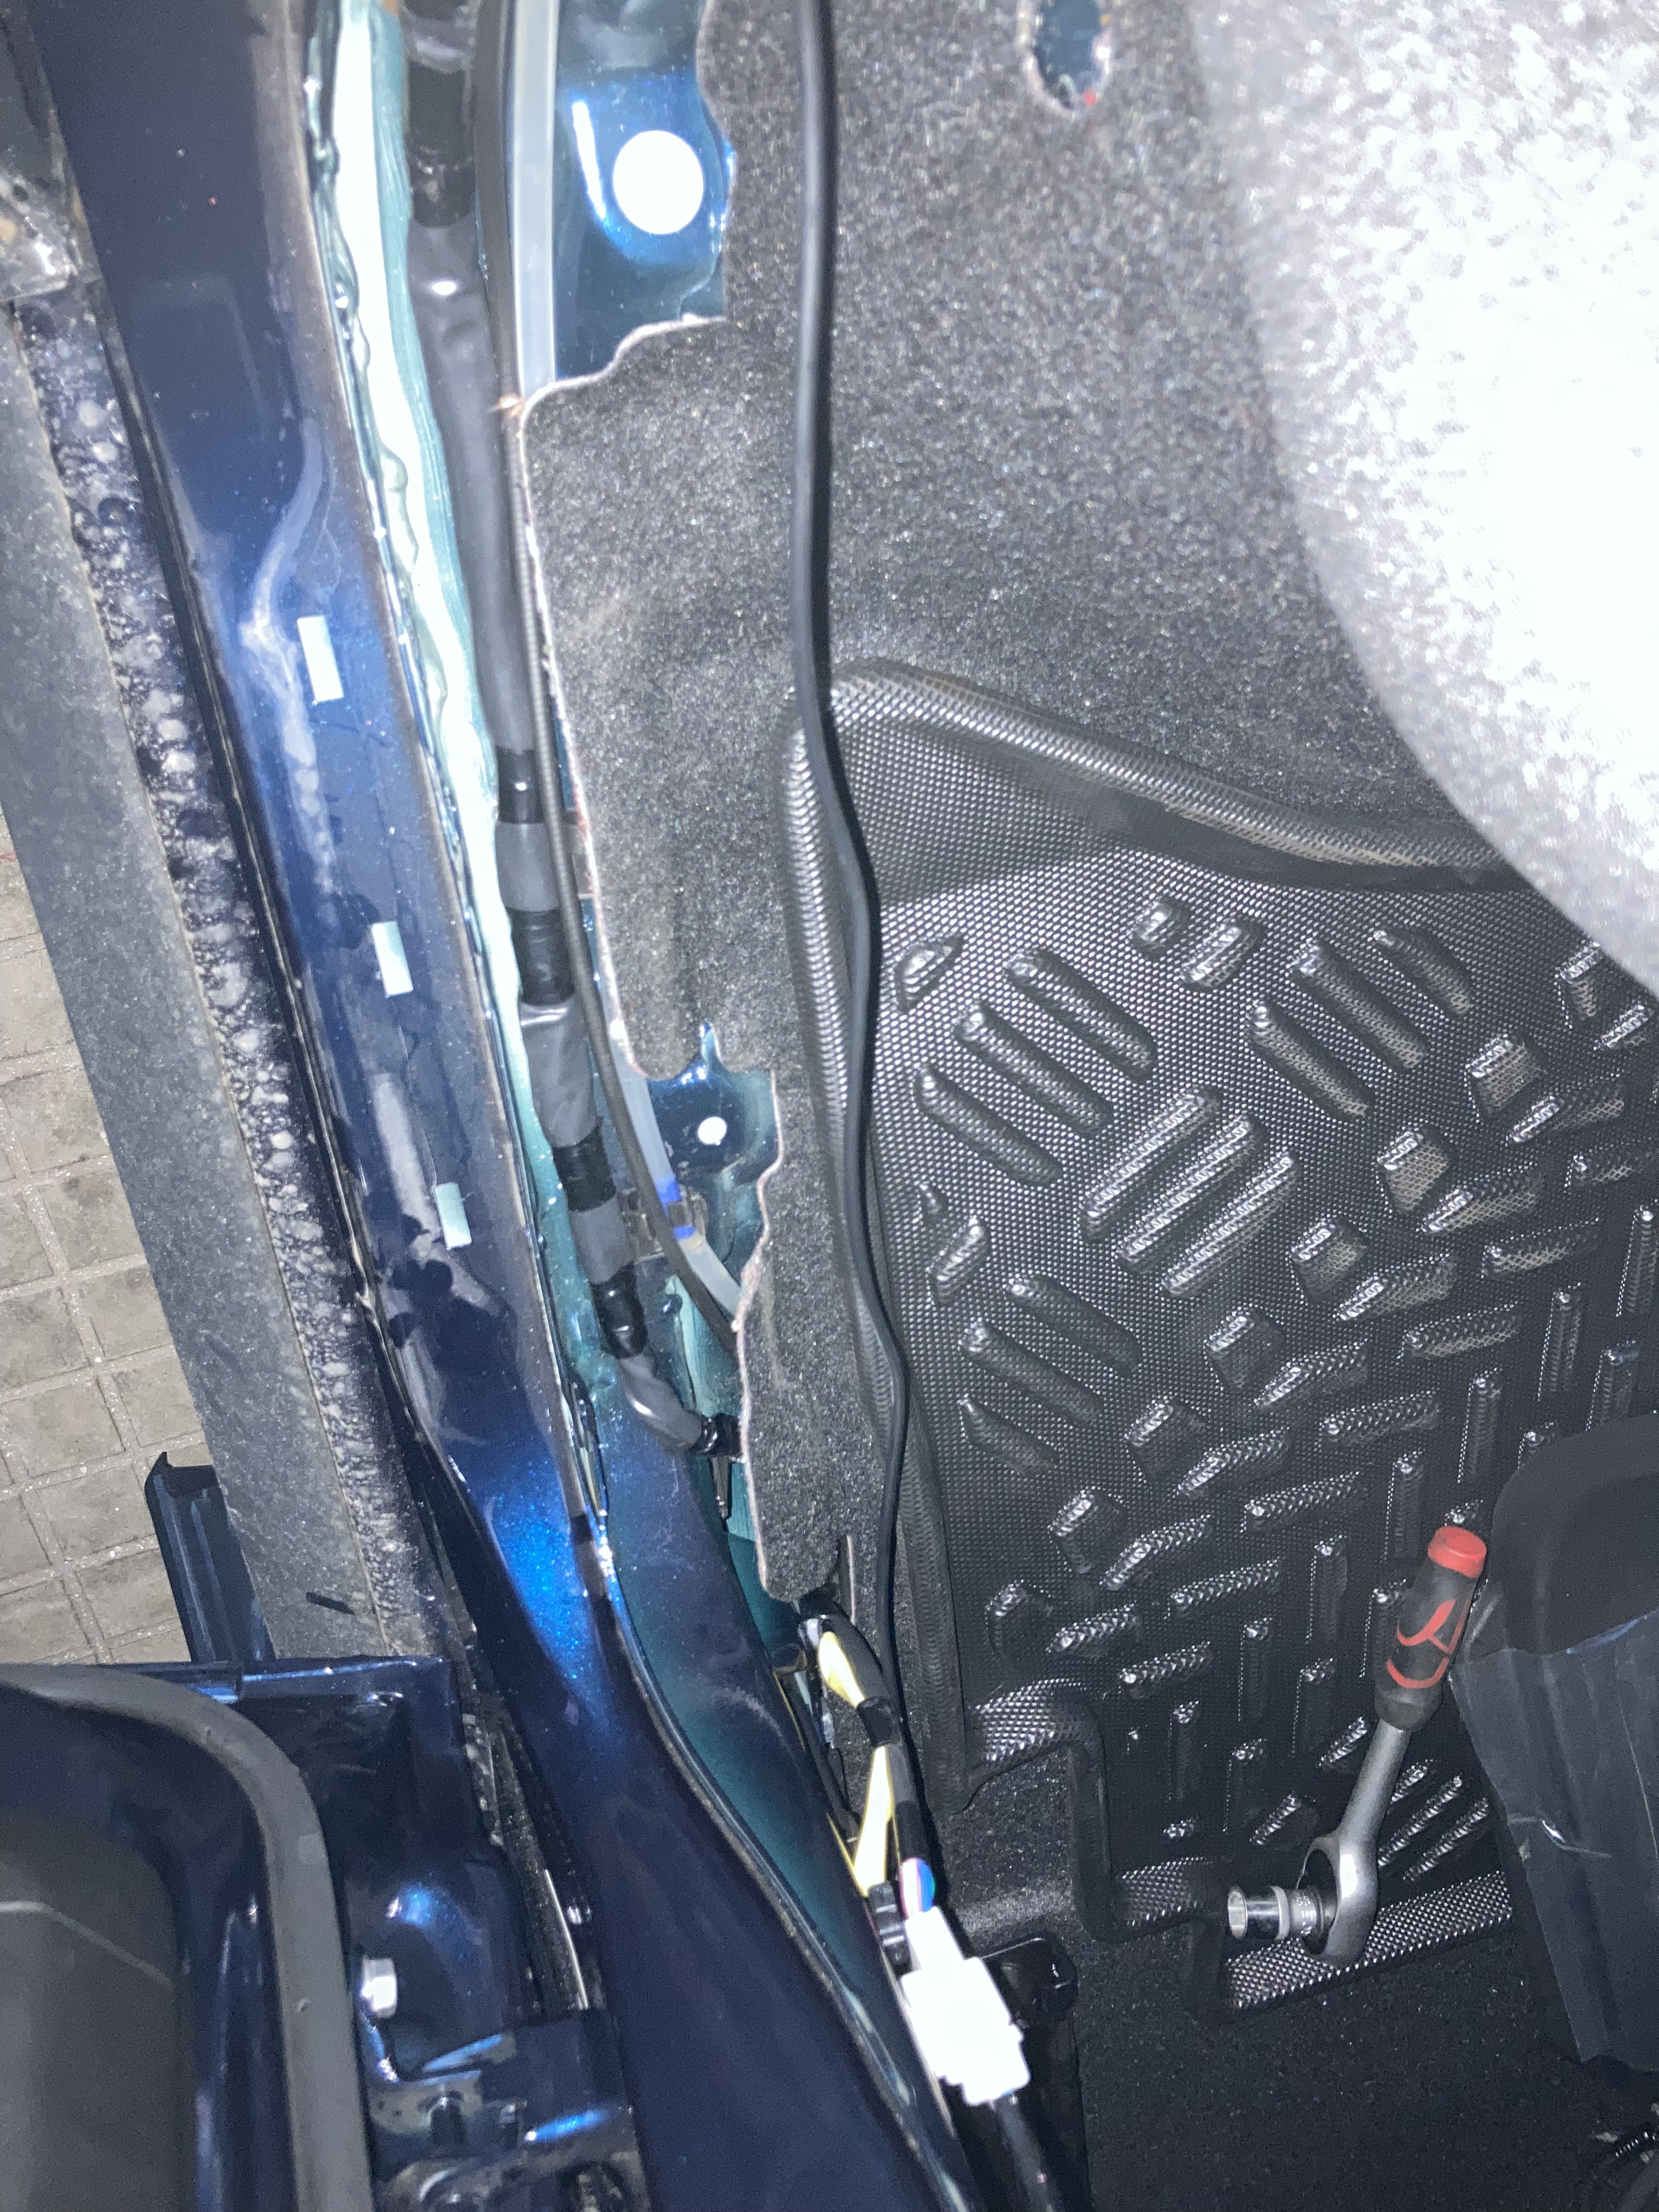
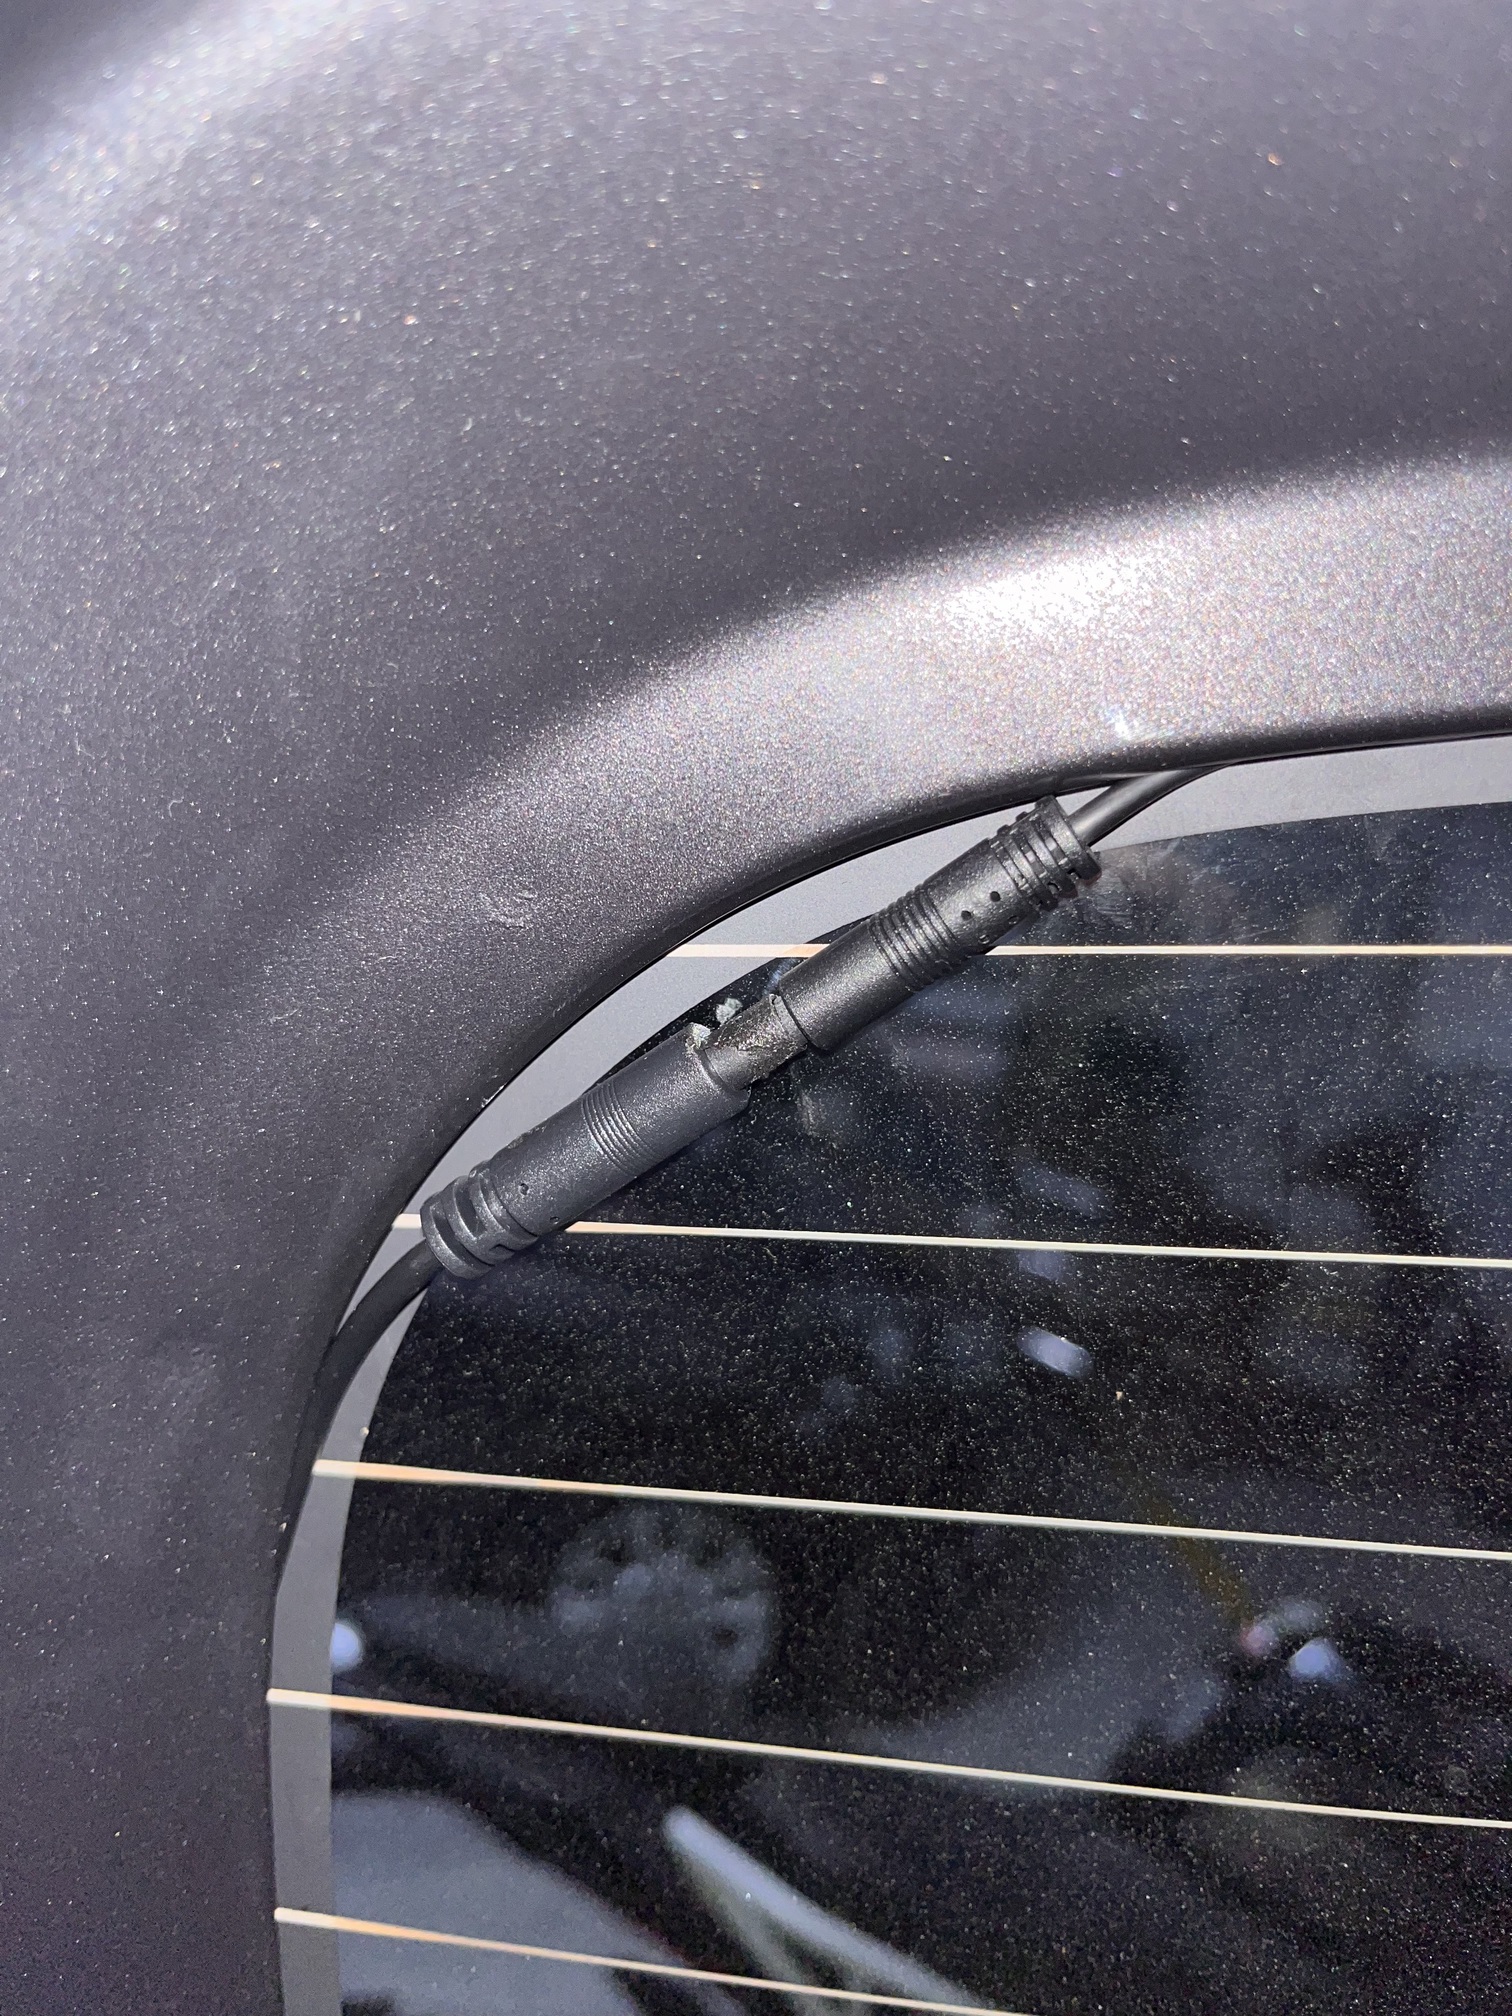
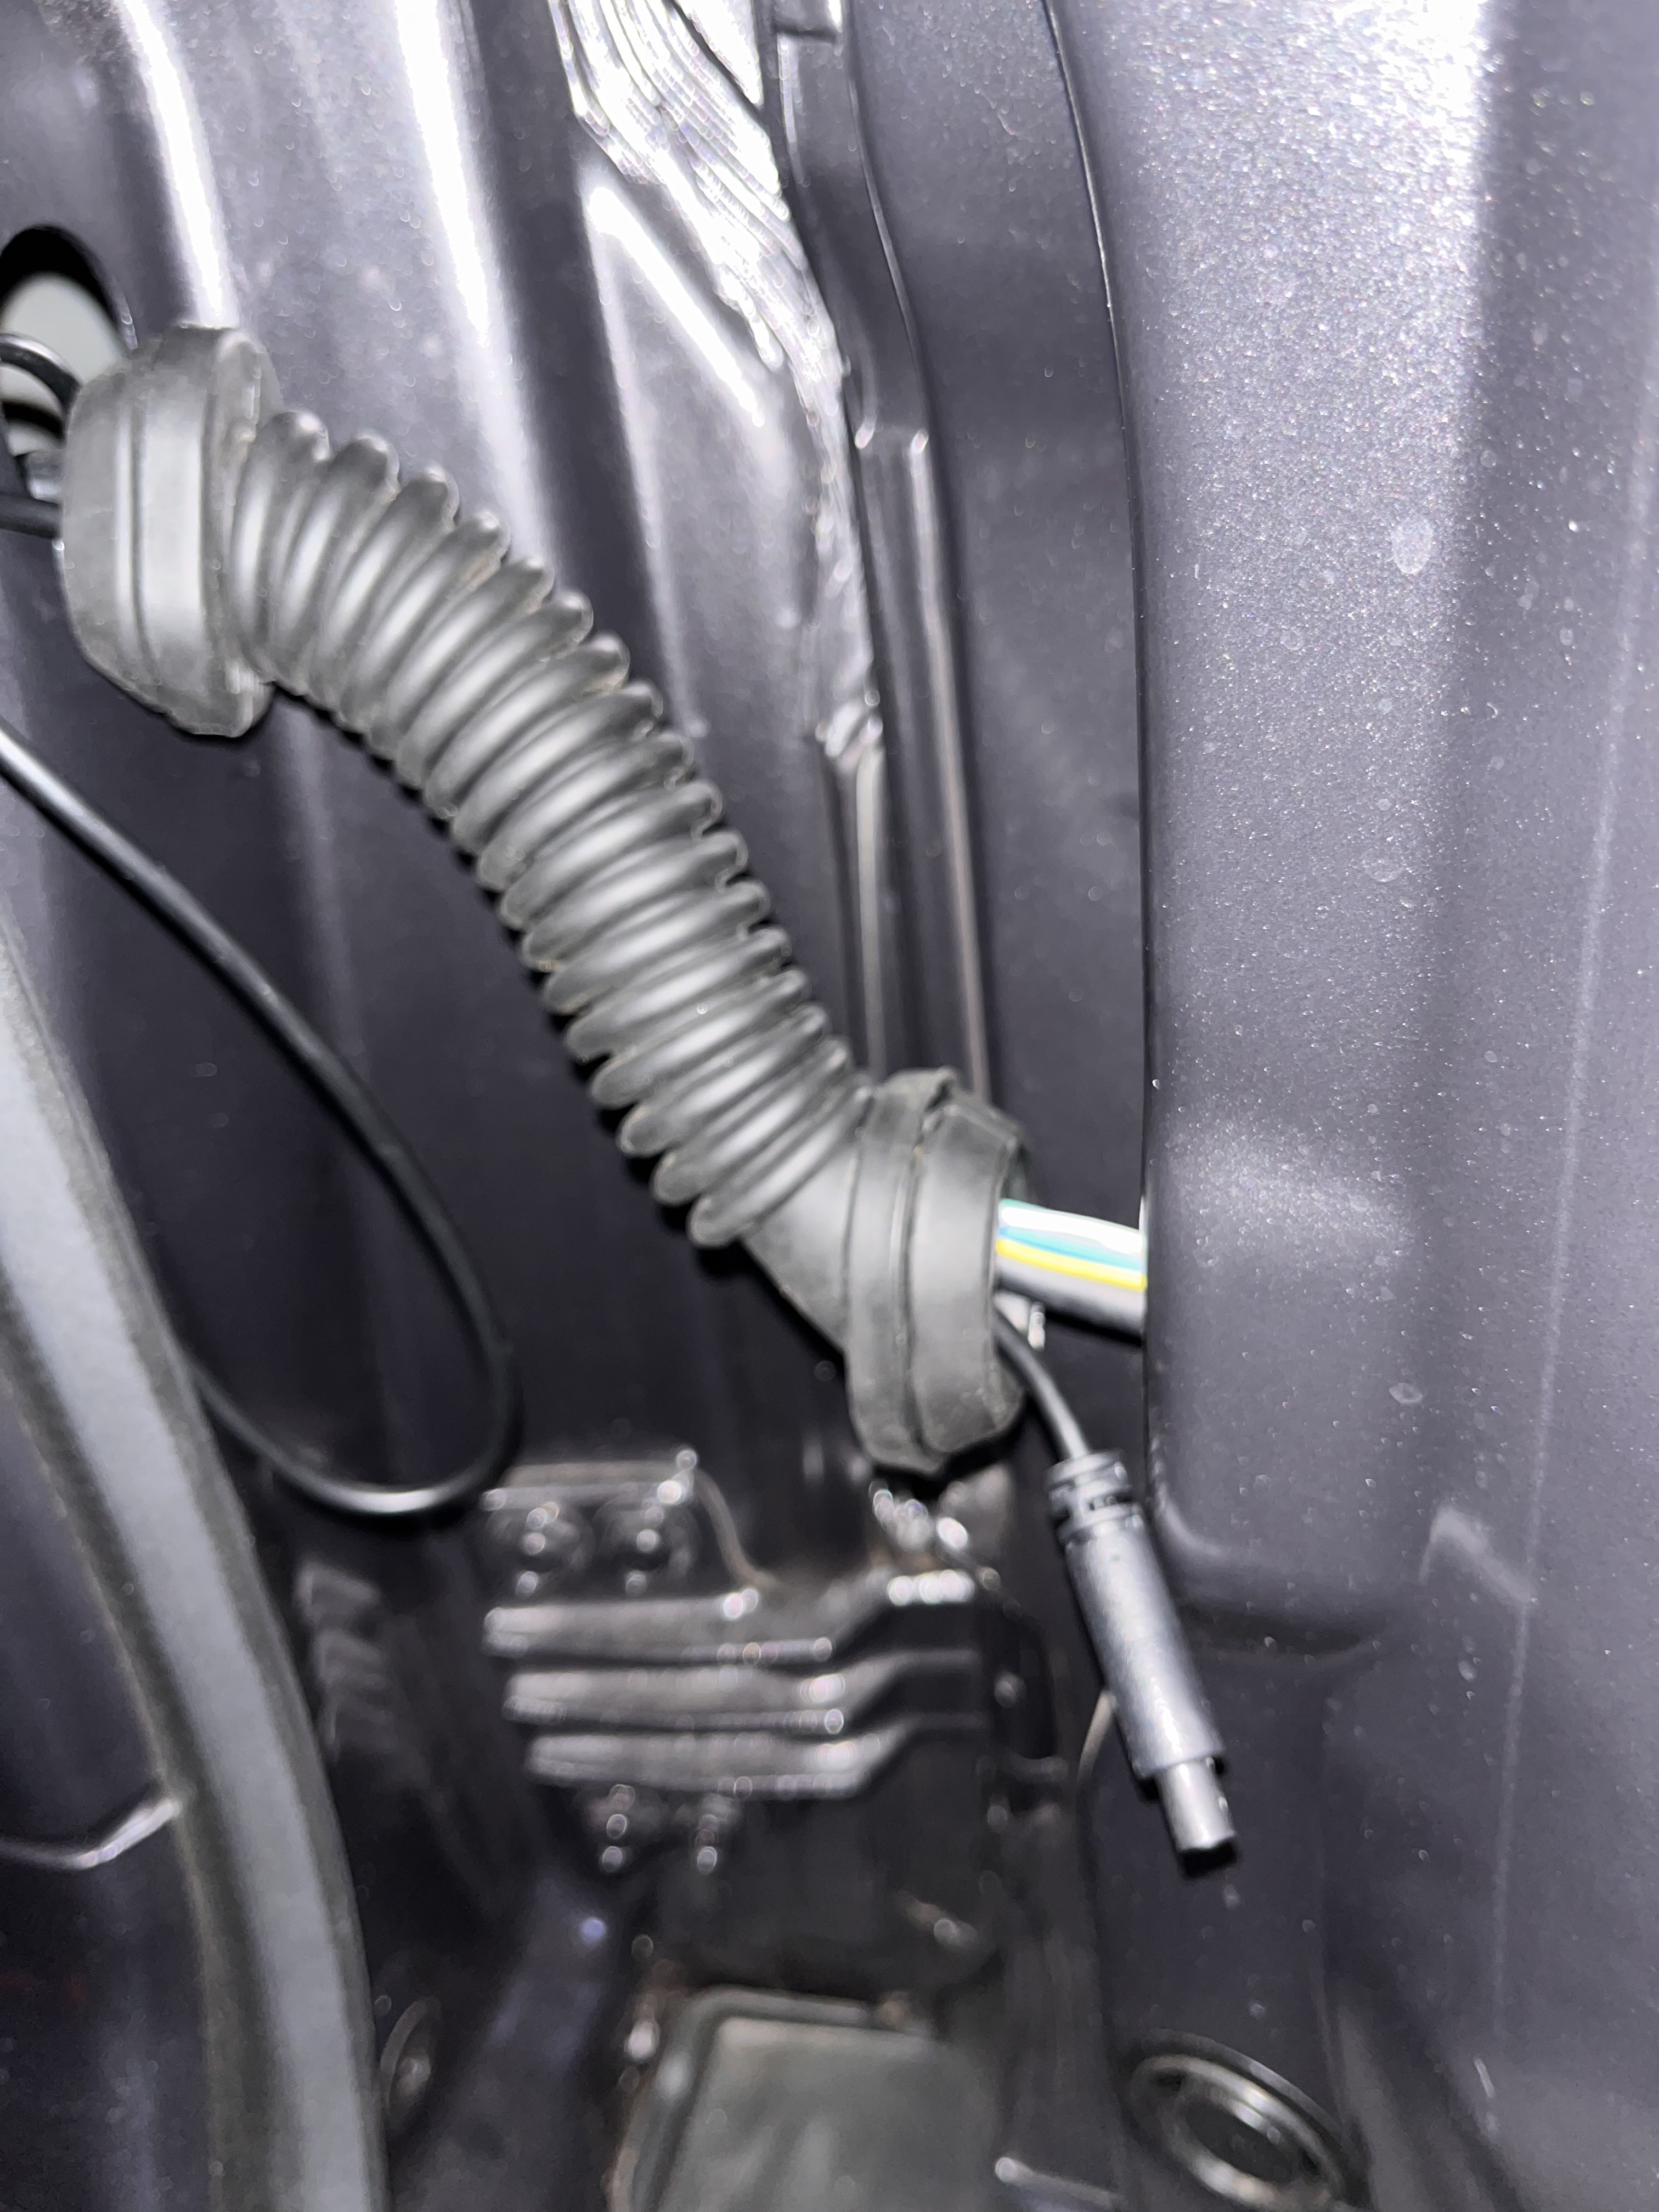
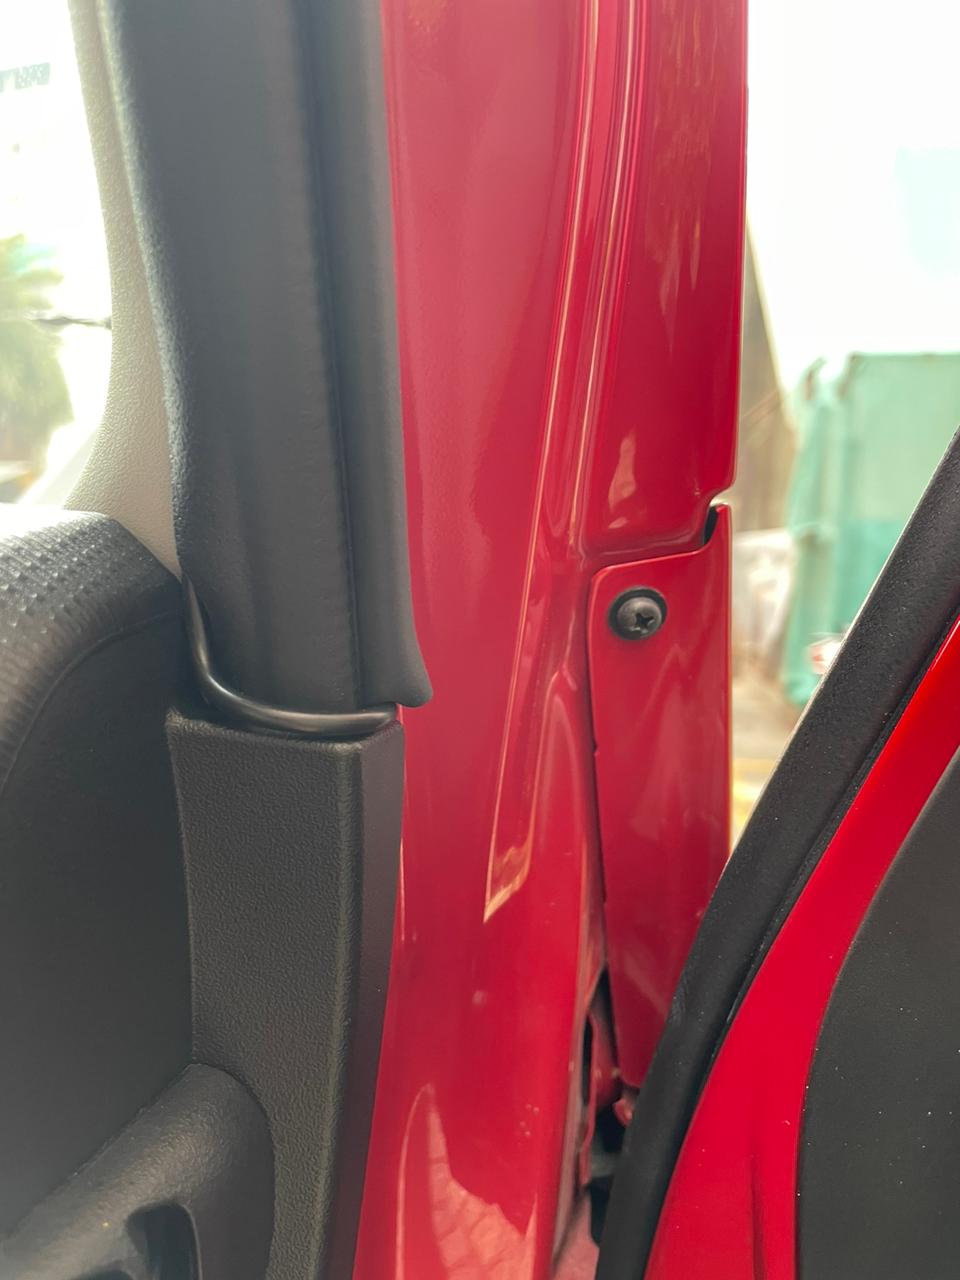
Gently remove the three plastic screws and pry it open so that your hand can fit and the wire can be routed up through there and into the rubber hose connecting the rear door and the body of the vehicle.
Squeeze and remove the rubber hose and follow the other wires for the dash cam wire to pass through. it will be tight but it’ll go through. Use the method you would use when mending the nada of your payjama.

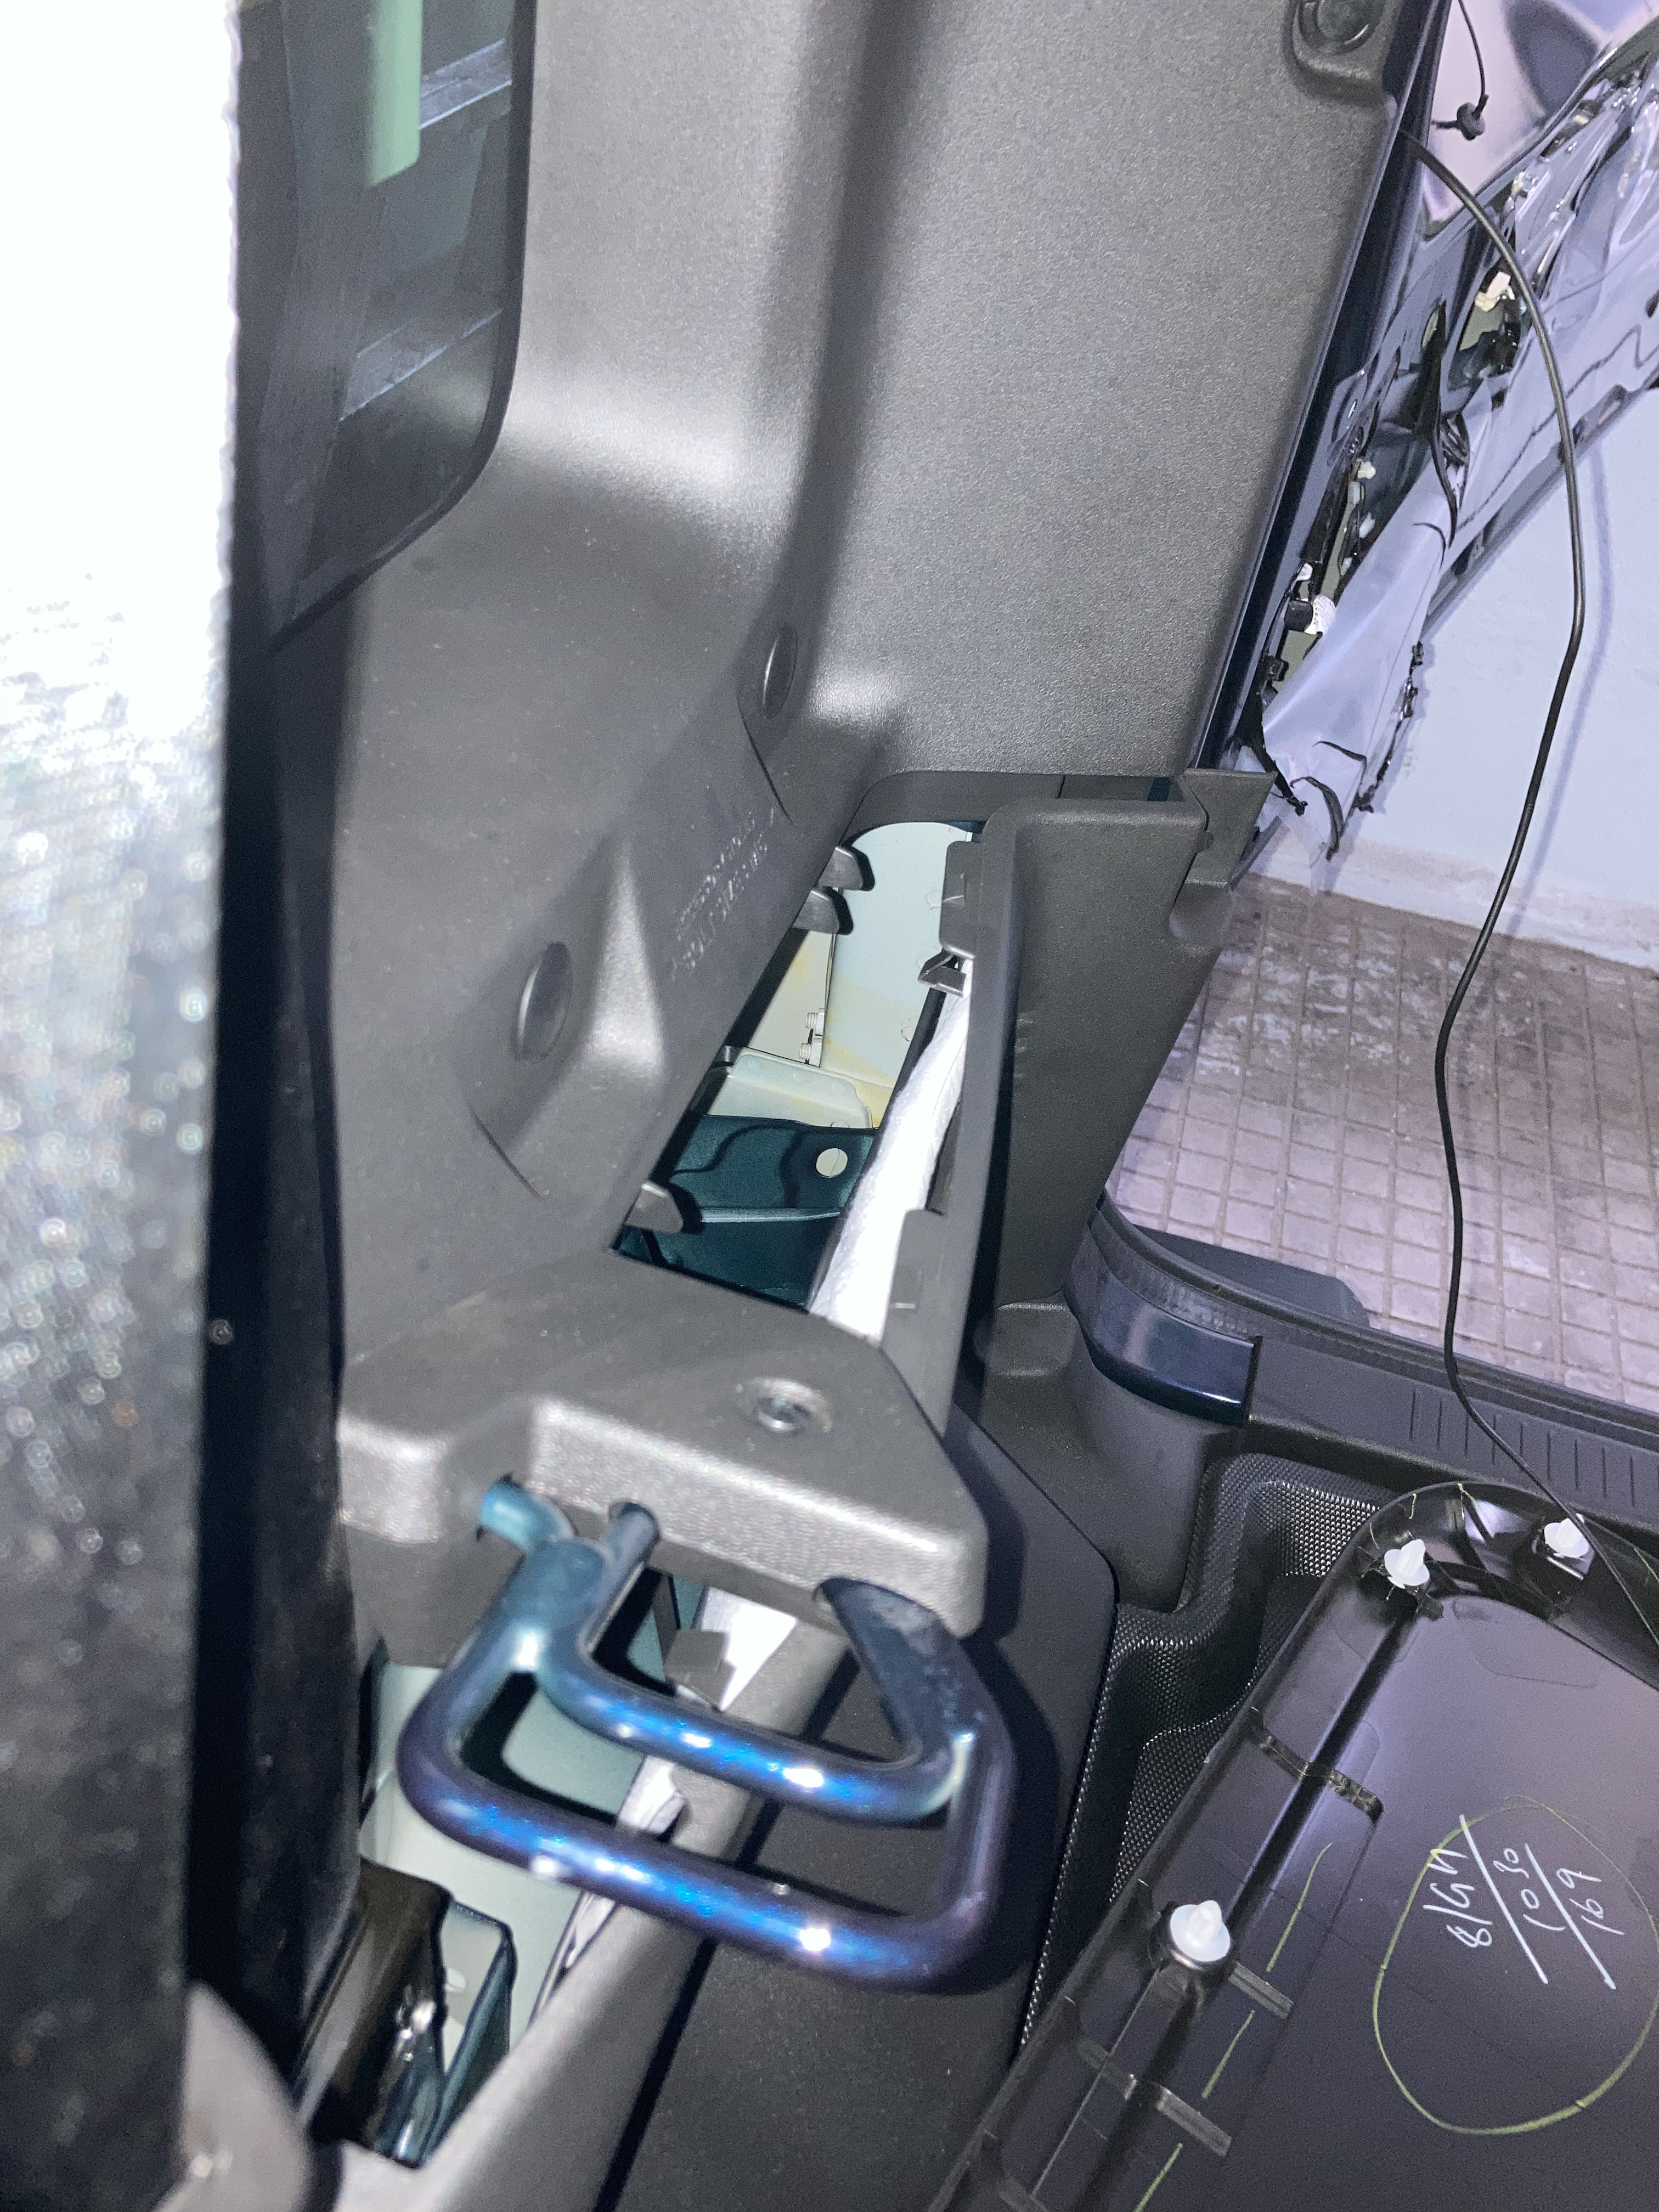
Finally just pull the rear cover, it’ll come out with some force and it’s very easy to remove the same. Behind which you will find a plastic sheet with black glue.
Carefully pry the plastic sheet open so that there’s sufficient space for you to slide your arm inside and guide the wire to exit out of the black groove right above it.
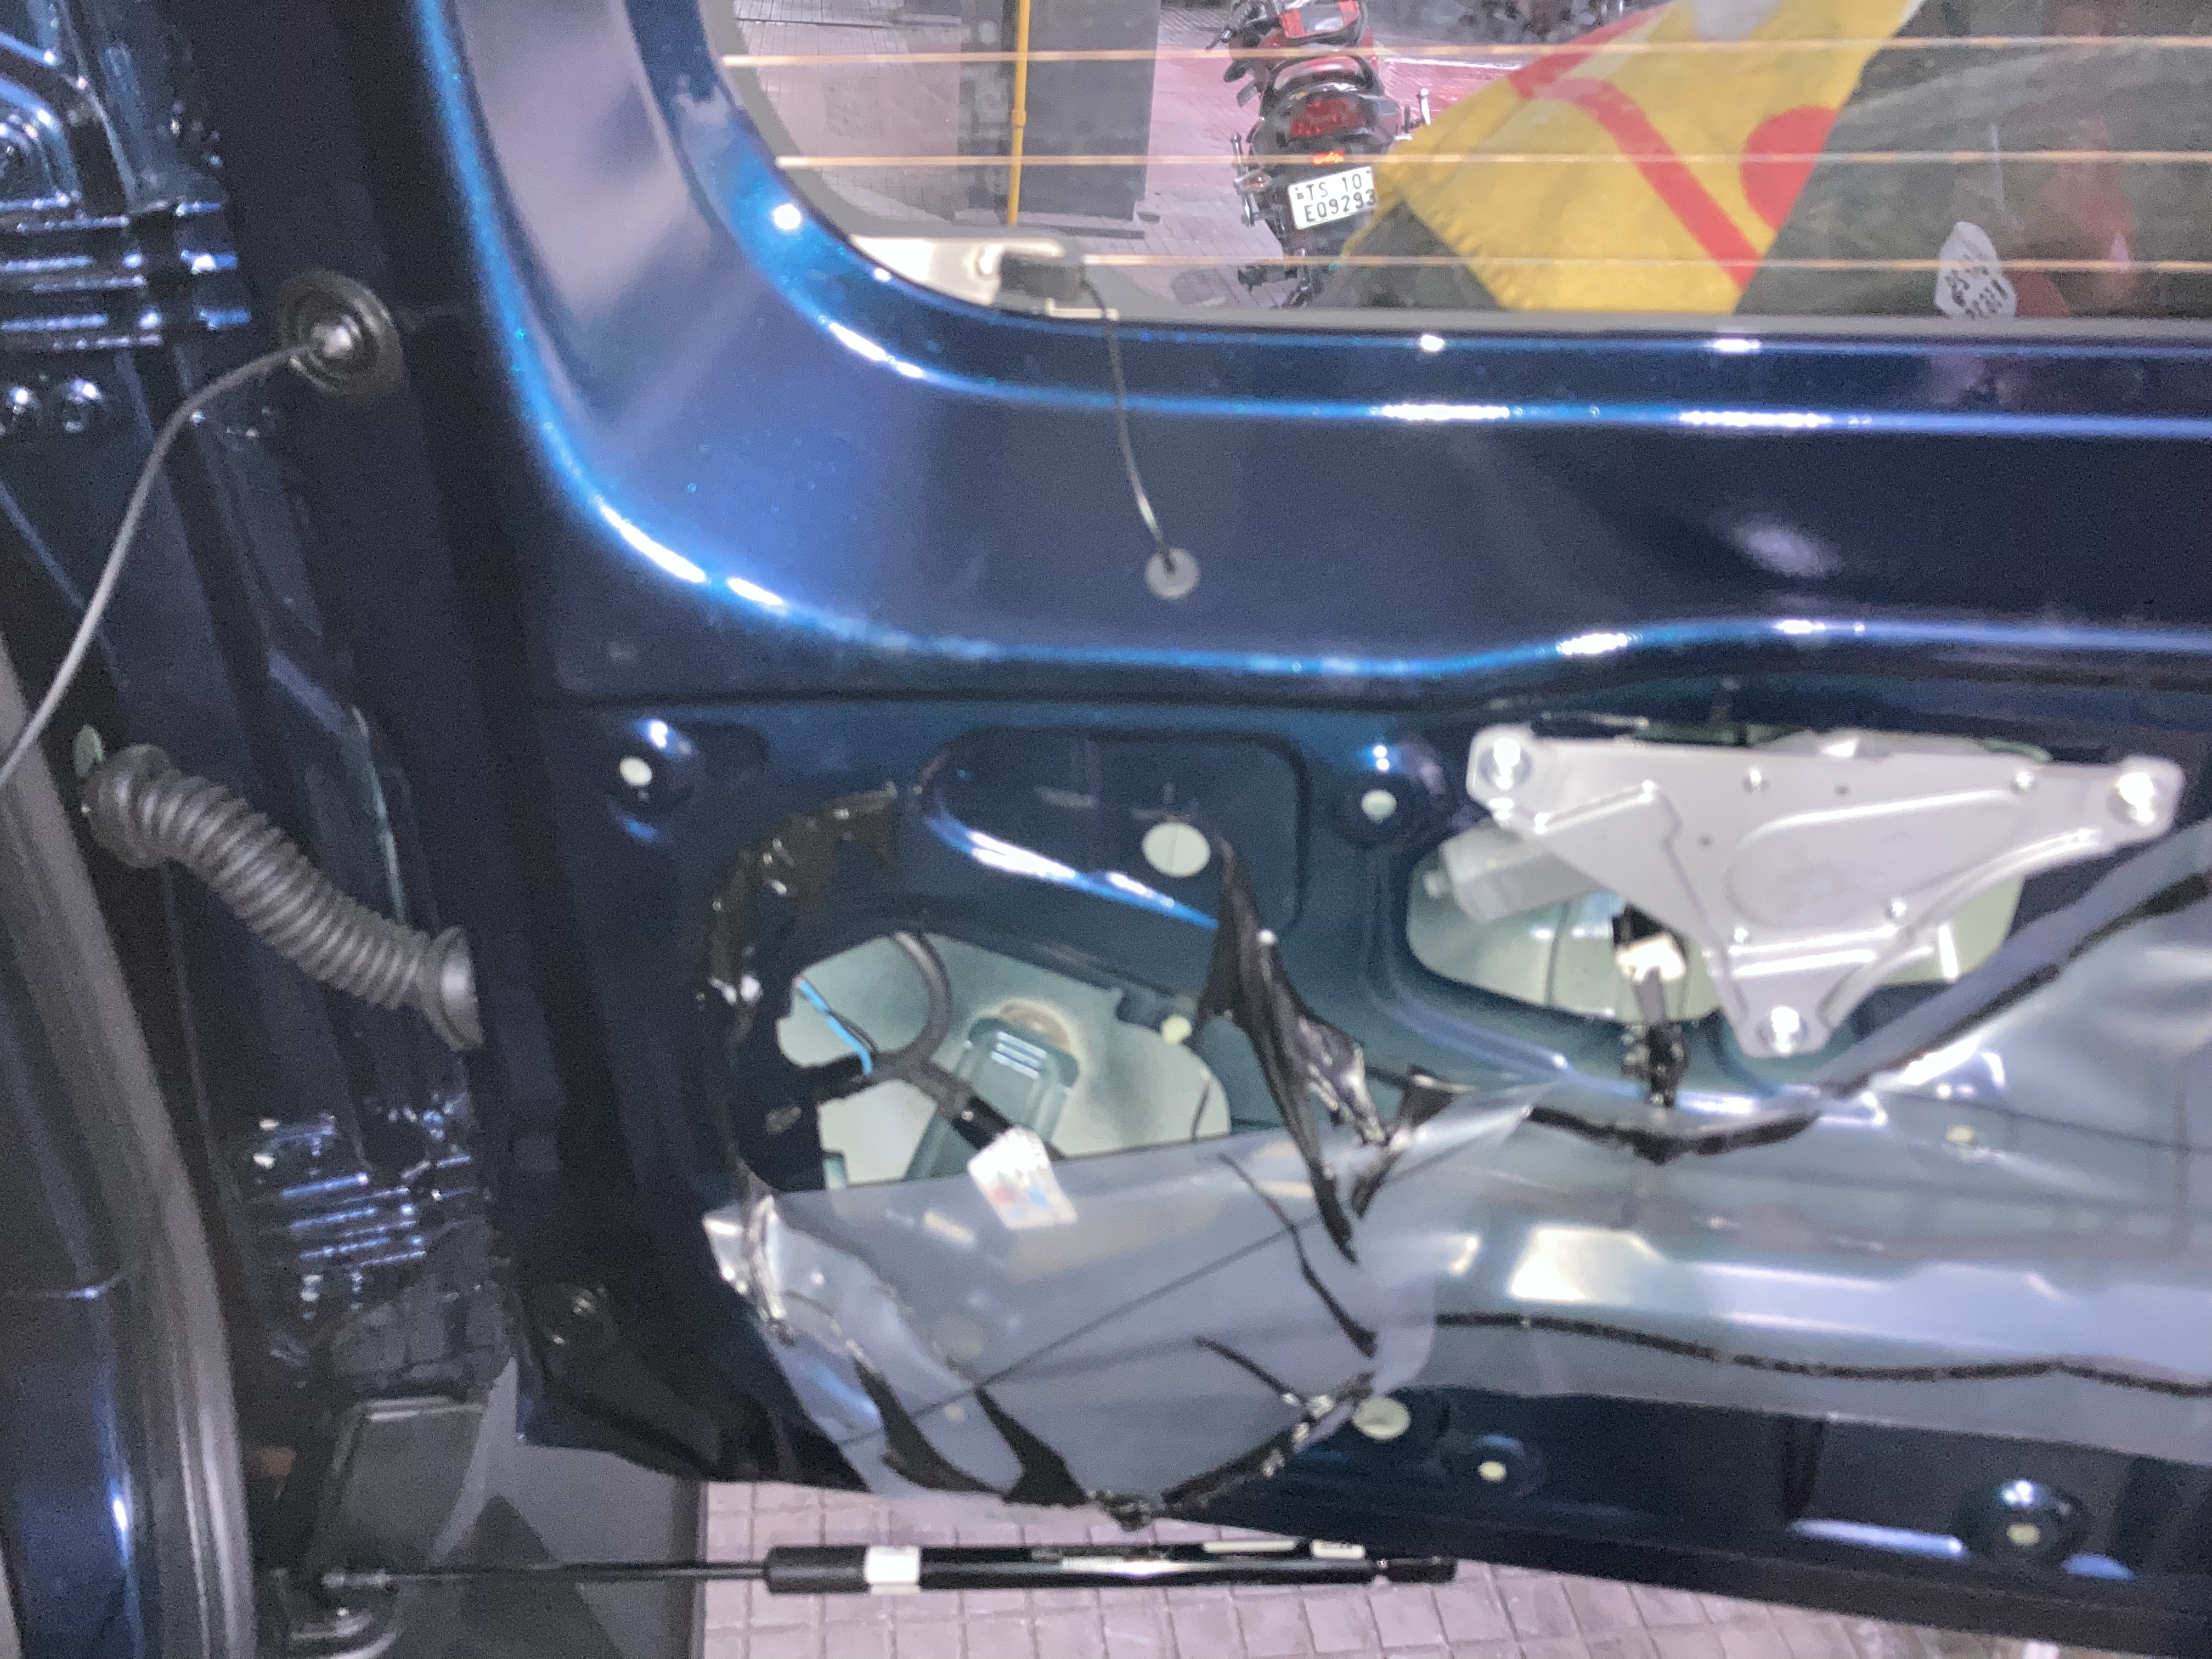
That black cover needs to be pierced with a scissors or a blade and the hole enlarged to let the wire through.
Now find a proper spot and mount the rear camera, adjust the wire so that it’s not in tension anywhere and put it all back together the same way you pulled it apart.
Congratulations - you just finished a hard part of customizing your car.